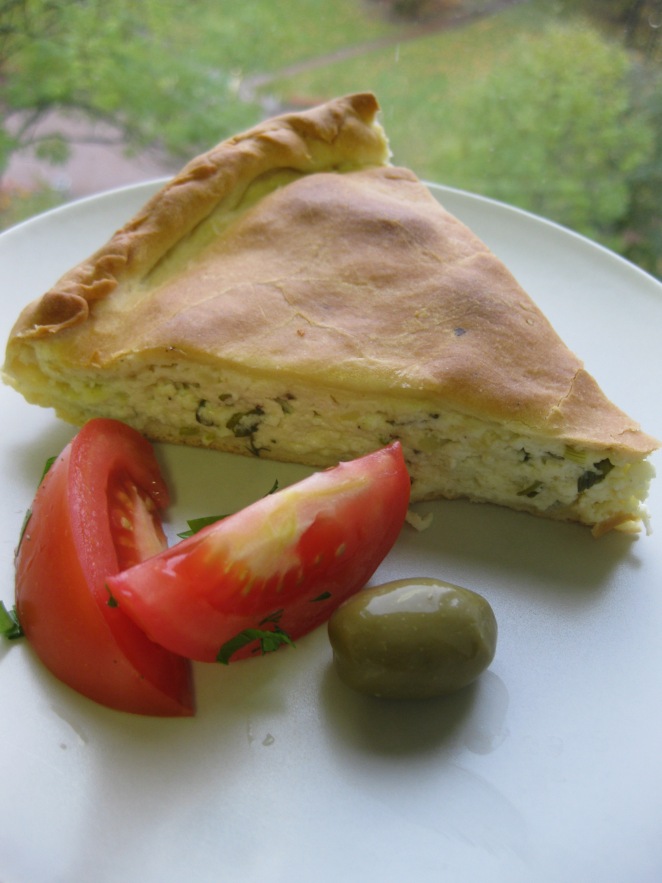
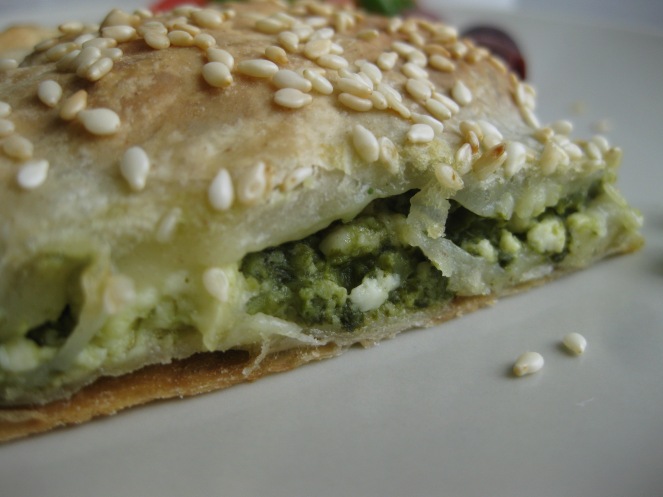
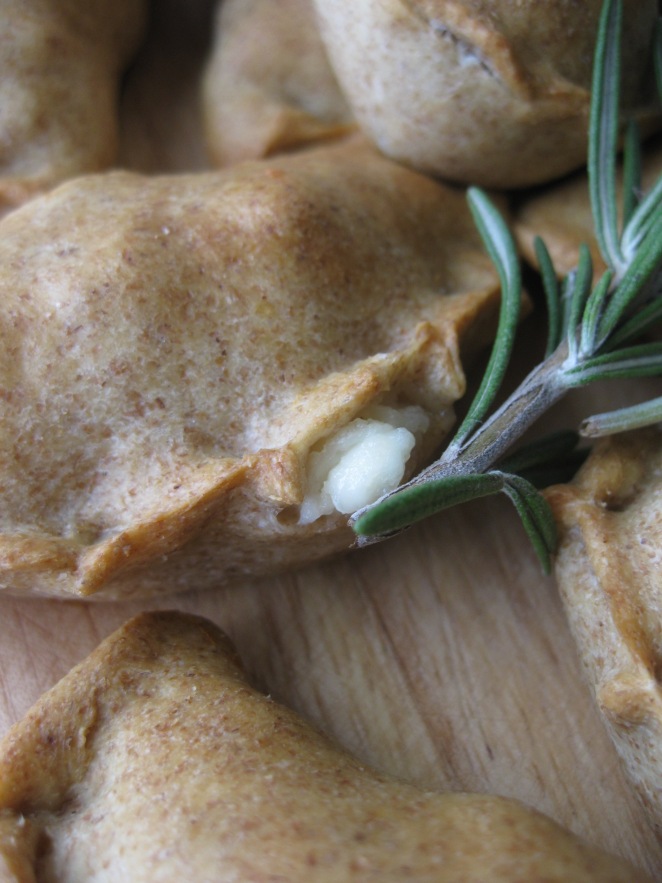
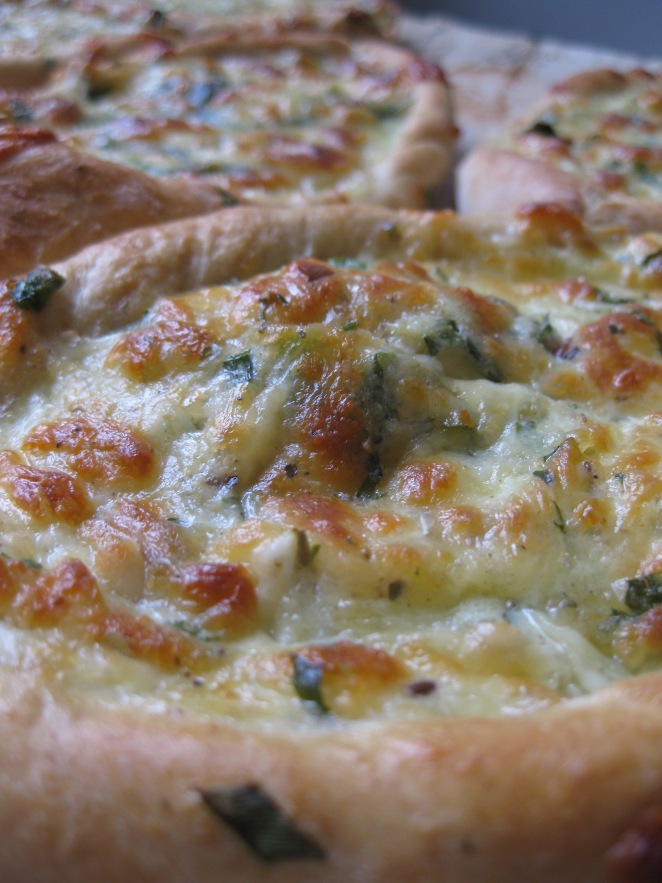
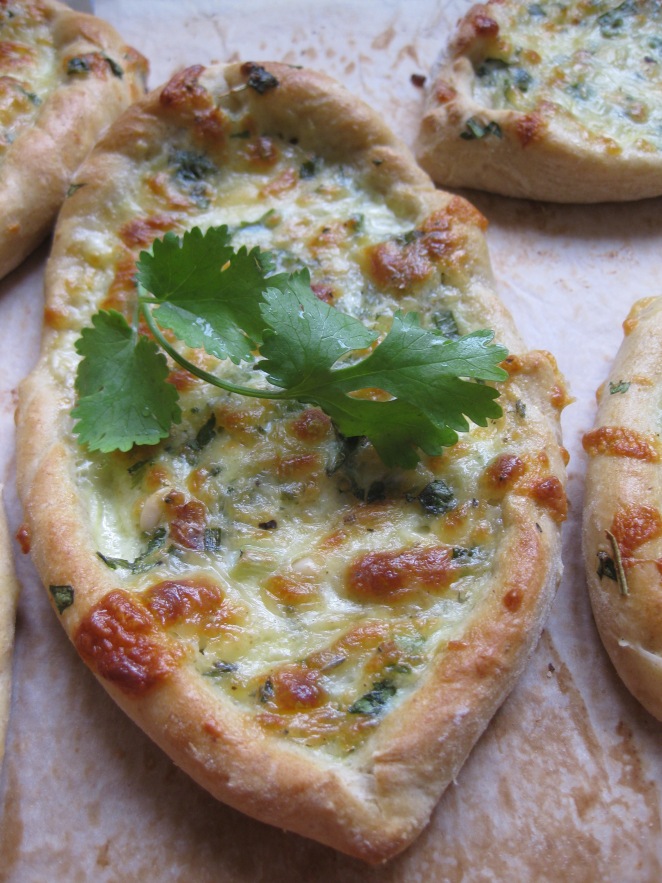
Cheese Pie with Homemade Phyllo Pastry
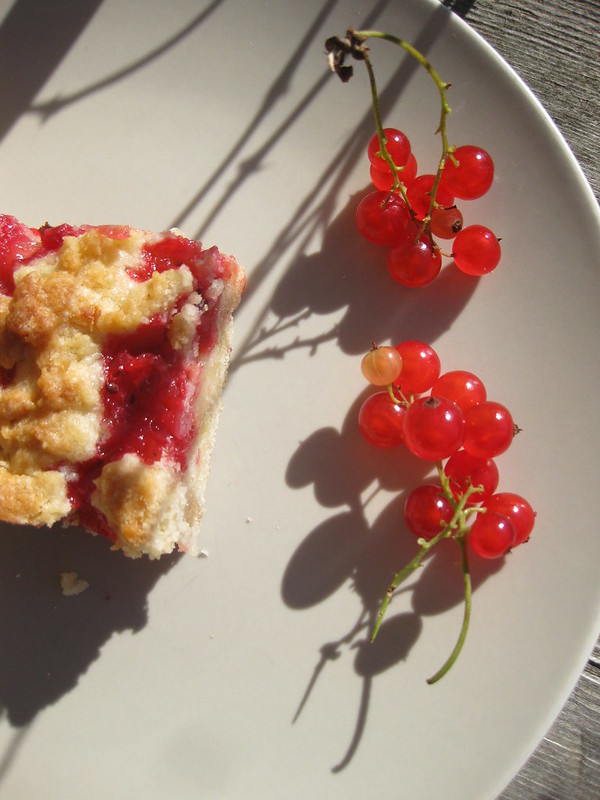
Cheese. Crunchy pastry. Worth some effort that the traditional Greek phyllo pastry requires – as well as worth a short walk to get some Georgian cheese 🙂 It’s a coincidence that I found some flat suluguni cheese in our local ‘farmers” store (they say it is a blini type of suluguni and sell it in disks) – which looks just like the pastry before it’s rolled out into sheets.
I have been meaning to use this recipe for the Greek phyllo pastry since I saw the video on the Food Wishes blog (the videos are always enjoyable – even from the language side of it – fellow linguists will understand:) some time ago. And finally I did dare to make a cheese pie with it – a sort of tiropita.
I have to admit this recipe is not a very quick one but you’ll see the difference and you’ll like the result for sure. And moreover there’s the video so you just have no excuses not to make this phyllo pastry and use it for savoury or sweet pies like bougatsa or baklava (there’s another video on how to make baklava). Careful though – baklava is super nutritious and addictive!
Don’t get intimidated with the seemingly complicated recipe procedure – Chef John’s instructions will guide you through it and after several it-will-never-work-out-well moments you will master this pastry that they use in so many pies in Greece. Oh, Greece is the heaven for pie fans!
1 year ago – Official St Petersburg or Along Bolshaya Morskaya
2 years ago – Pear Croustade and Pane Tipo Altamura
3 years ago – From Sunny Greece to Autumn Leaves in St Pete
4 years ago – Plum Cakes from Italy and Austria
5 years ago – Shangi, Pies from the North and Urals
6 years ago – Ode to My Baboushka
Cheese Pie with Homemade Phyllo Pastry adapted from the hilarious foodwishes.blogspot.com will make an almost authentic Greek pie… well, at least you can imagine it is! Go to the link above to watch video instructions for the pastry (attention: requires some time and effort!). See my remarks in italics.
Ingredients:
- 2 cups all-purpose flour, plus more for kneading
- 5 teaspoons olive oil – for some reason I thought it was 5 TABLEspoons 🙂
- 1/2 teaspoon fine salt
- 2 teaspoons white wine vinegar – our 10-year old vinegar from France gave too much of flavour
- 3/4 cups warm water
filling:
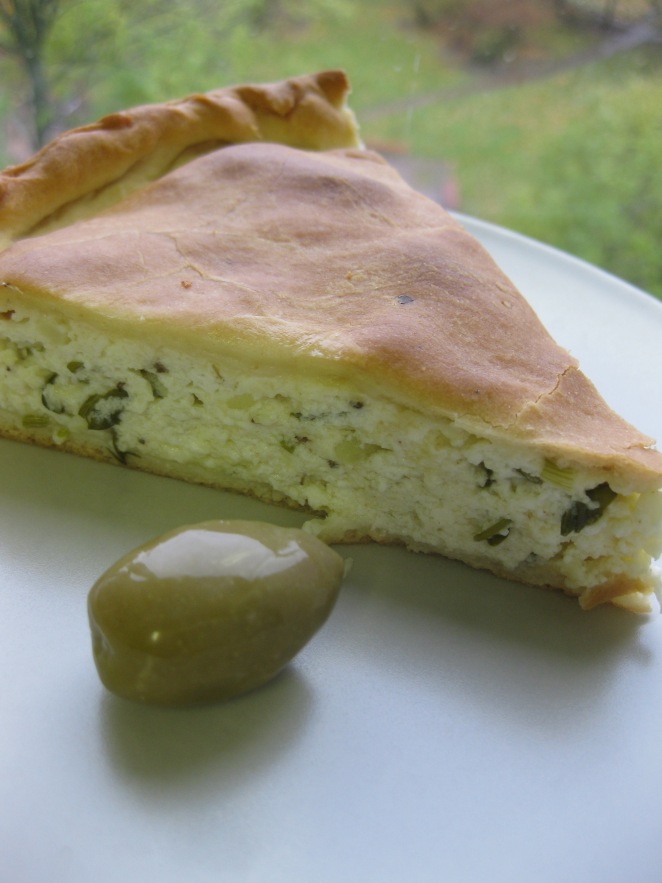
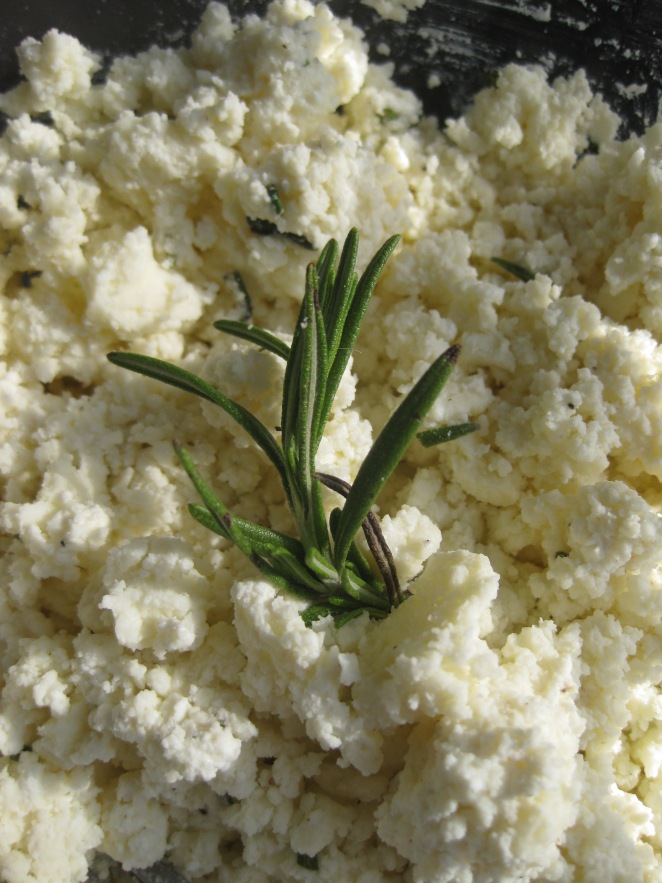
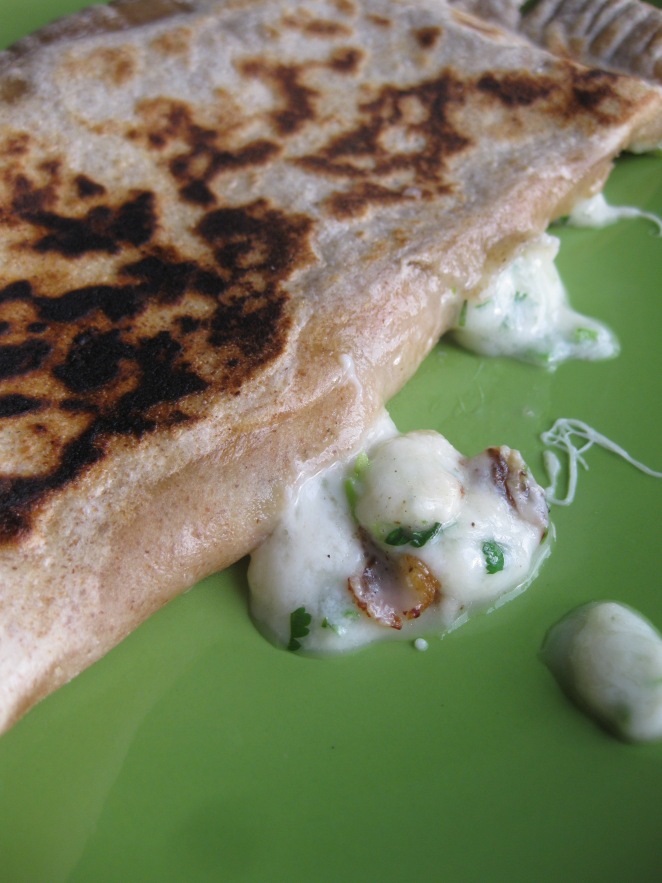
- about 300 g rubbery cheese, ideally – suluguni, if not – haloumi, grated / mashed
- about 300 soft fresh cheese in light brine, ideally Feta, Imeretian or Adygea cheese, grated / mashed
- salt with dried herbs, pepper
starch mixture:
- 1/2 cup cornstarch – I had only potato starch
- 2 tablespoons all-purpose flour
Procedure:
Make the pastry: Place the flour in a bowl, make a well in the center and pour in the oil, vinegar and the warm water plus the salt. Mix these ingredients with your fingers (not with someone’s else of course) in the bowl, then place on the surface and kneed into a smooth and soft ball, about 5 min. Roll the ball into a log and then back into a ball for several times. Wrap and leave to rest for at least 1 h at room temp.
Divide the dough into balls of 20 g (mine were about walnut size), cover the ones you are not using. Take 5 balls and roll each of these balls into a small disc, dust each of them really well (!) with the starch mixture and stack all 5 together. Then roll the stack out to about double the size, separate the discs (this will come with practice…), dust each disc again, re-stack them together in any order you like and roll out again into a sheet of pastry – the thinner the better.
Place one sheet of pastry between 2 sheets of parchment (reuse them in baking later), roll into a log (do not press), wrap in plastic (I placed them in a plastic bag) and leave in fridge / freezer if not using straight away.
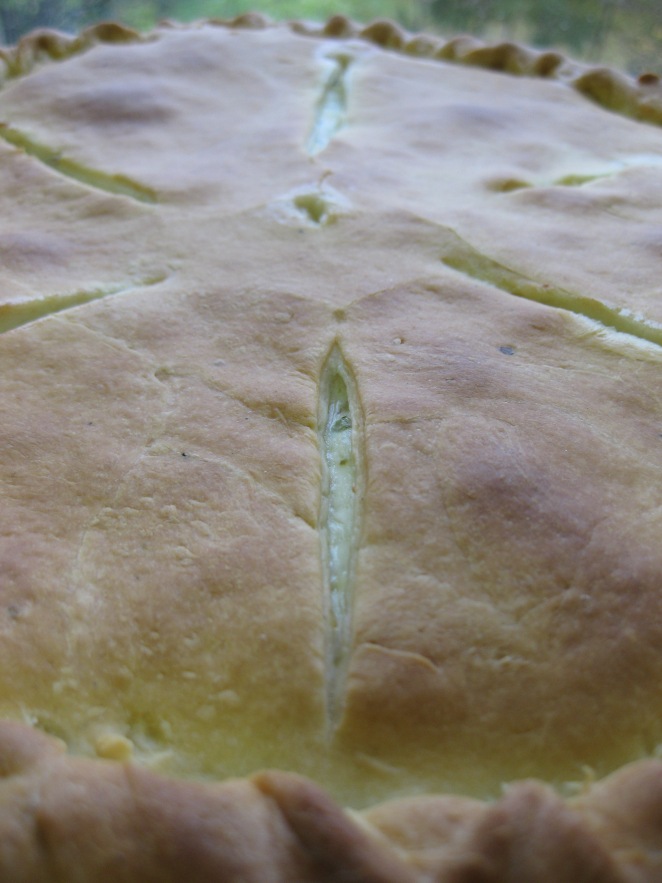
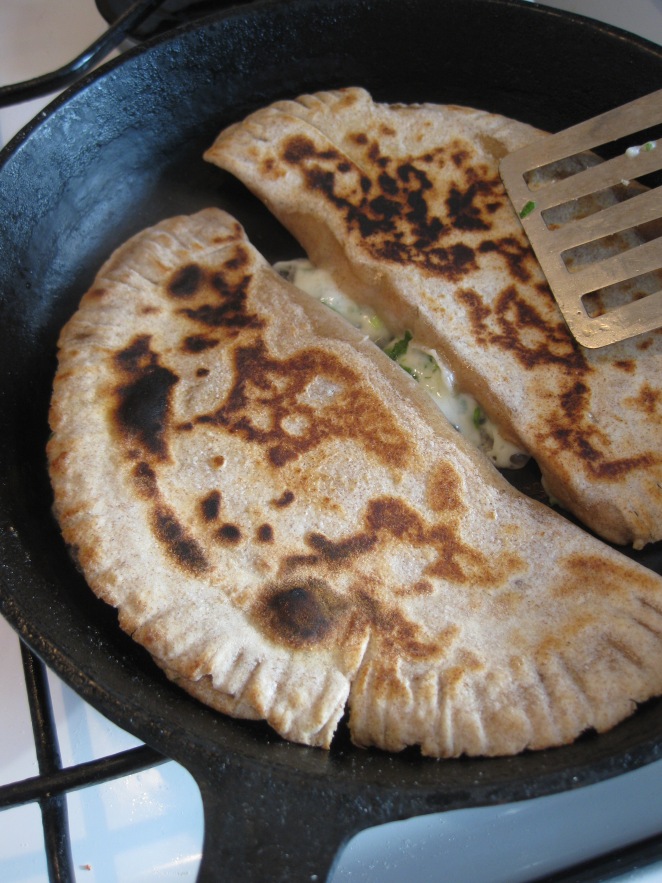
When assembling your pie, use several sheets for the bottom layer and some more for the top layer (or even in-between layers, as in baklava). Drip olive oil over each 2nd sheet of pastry and do not forget to pre-cut the pie (do not cut through). Bake at 350’C for about 1 h (I did not have that much time so I switched the fan on at 180’C and reduced baking time to 30 min).
Remarks: Chef John says the recipe will make enough for about twenty sheets of pastry but I got 3 sheets with 5 layers + 1 sheet with 3 layers which was enough for a rather large though flat pie. I didn’t roll my pastry out too thin though. And yes, re-separating the discs of pastry is the most challenging part of the process, I only got the trick after rolling out and re-separating two stacks. After all, phyllo means a leaf (or a sheet in this case)… Another remark, the cornstarch mixture makes a bit too much for this amount of pastry – I used the leftovers in a cake. Also, I used quite a small baking sheet so had to make rather thick borders – better avoid it, the pastry get too tough at the edges.
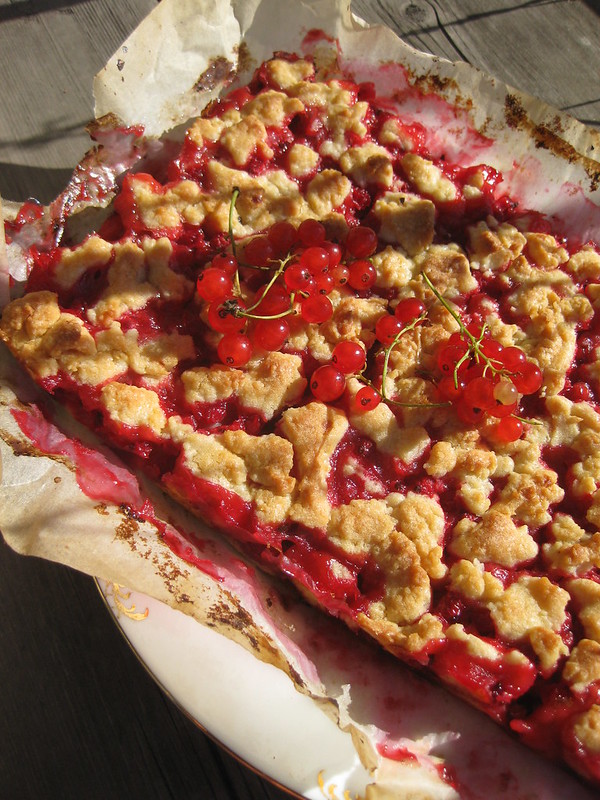
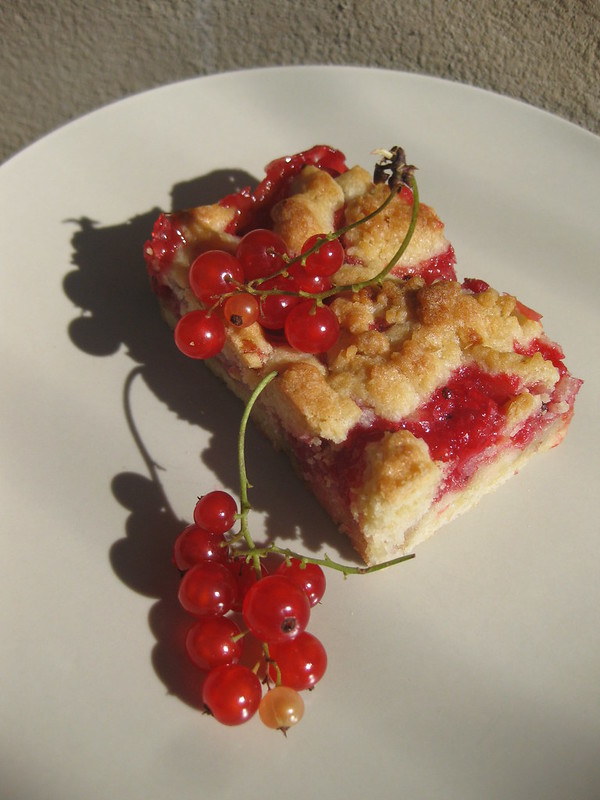
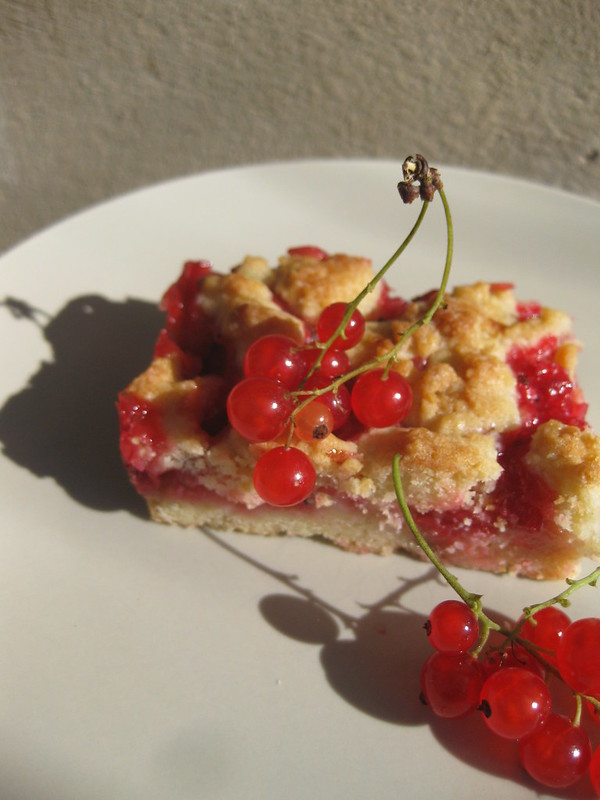
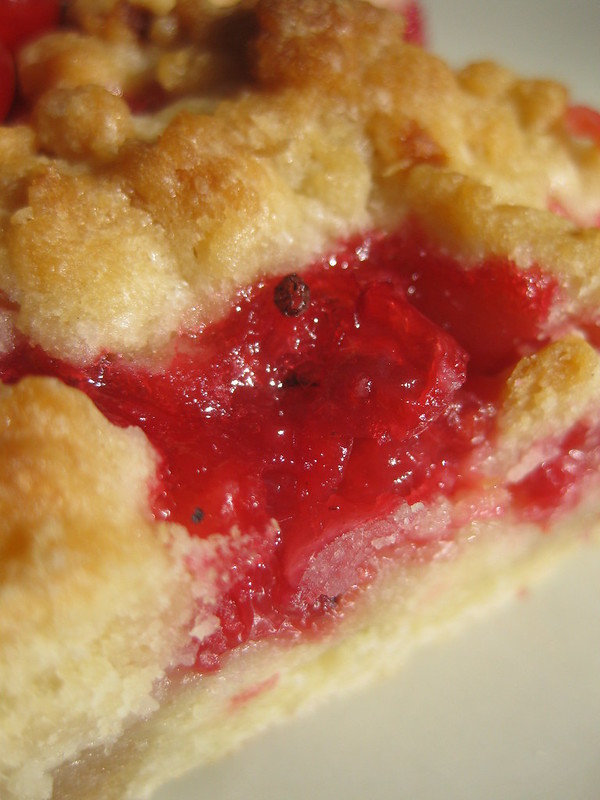
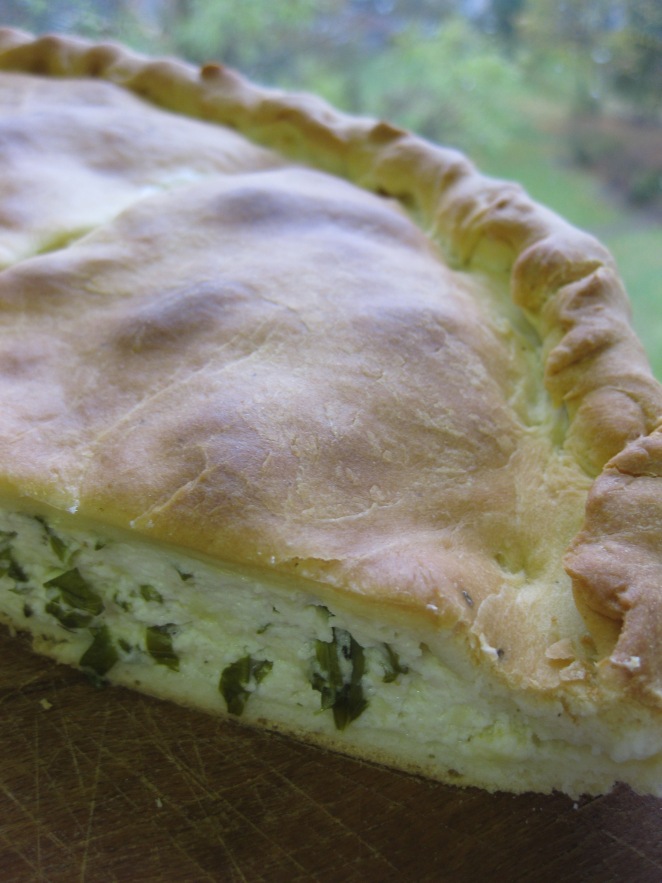
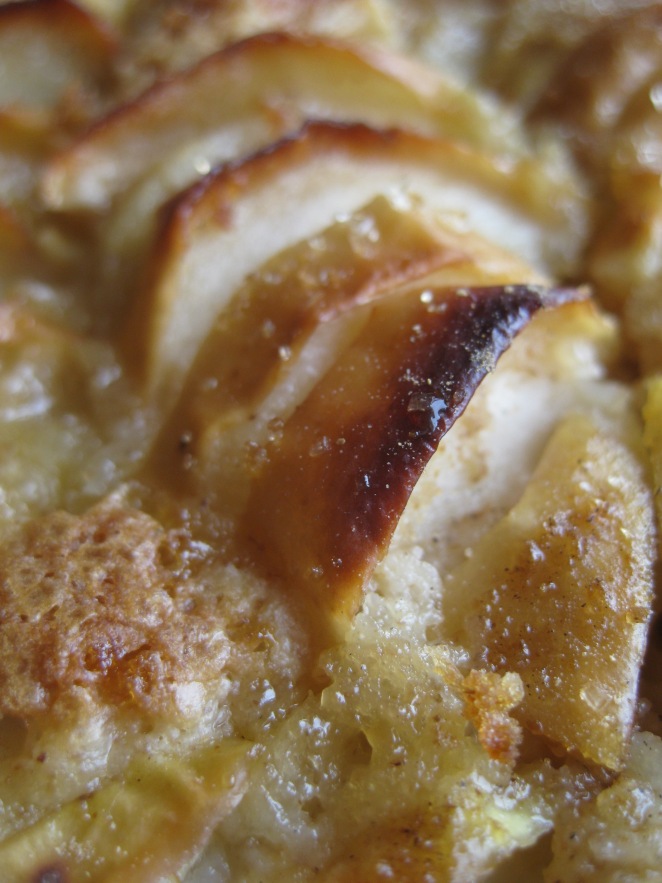
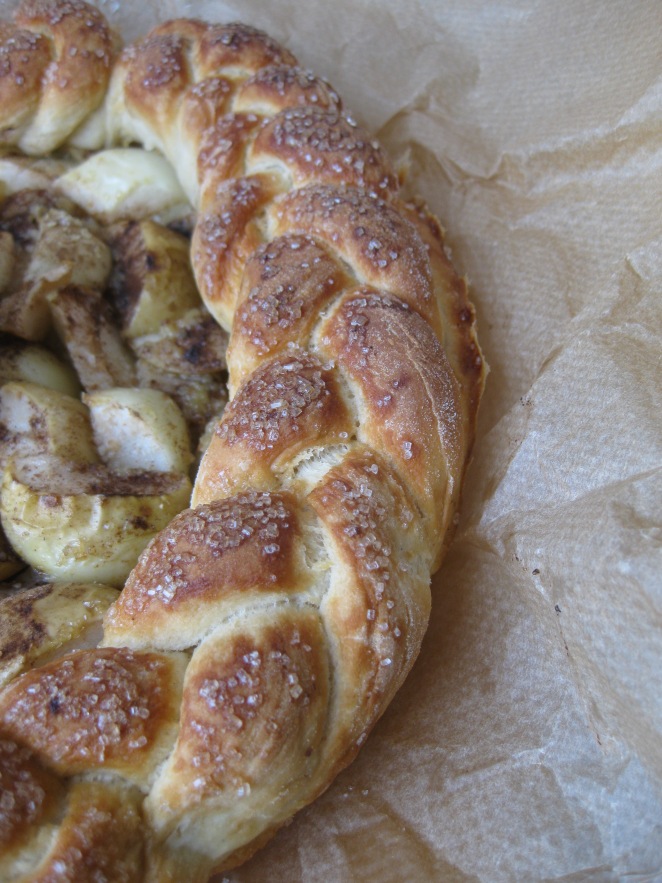
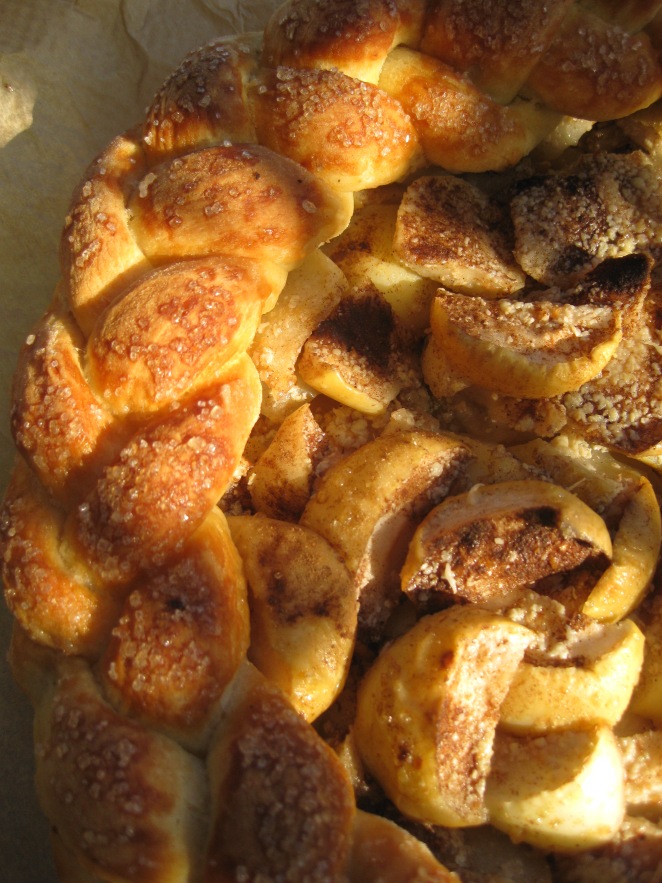
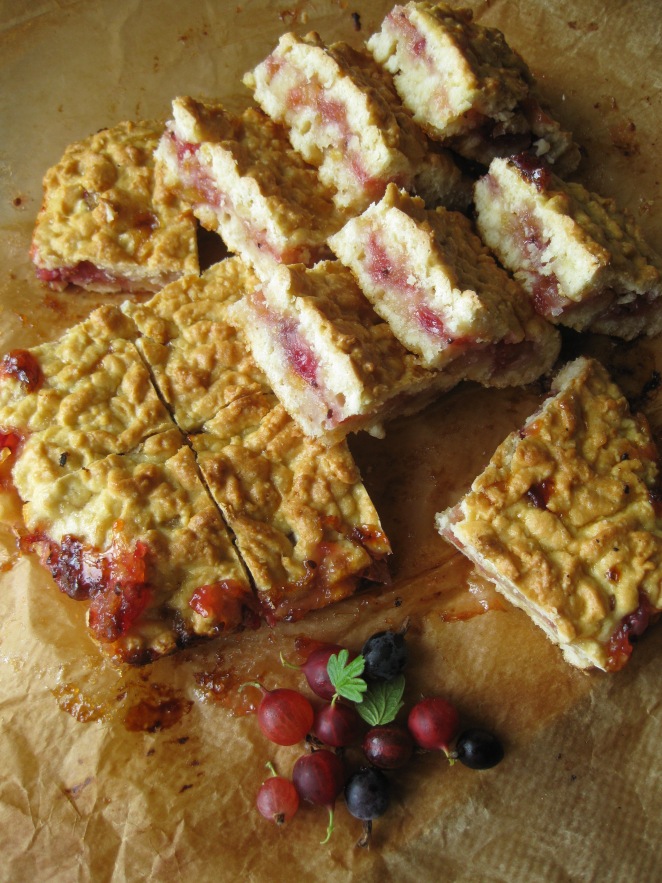
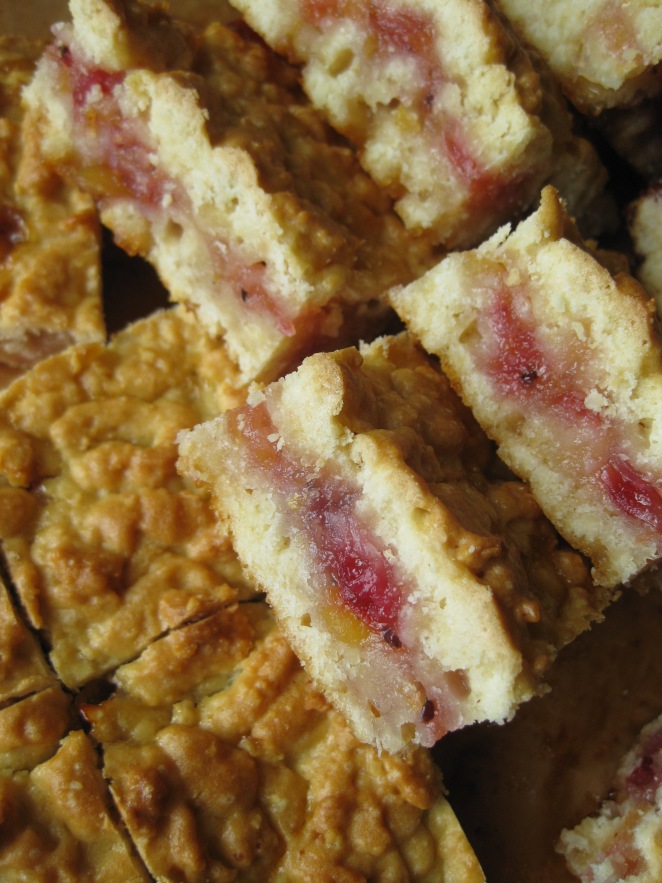
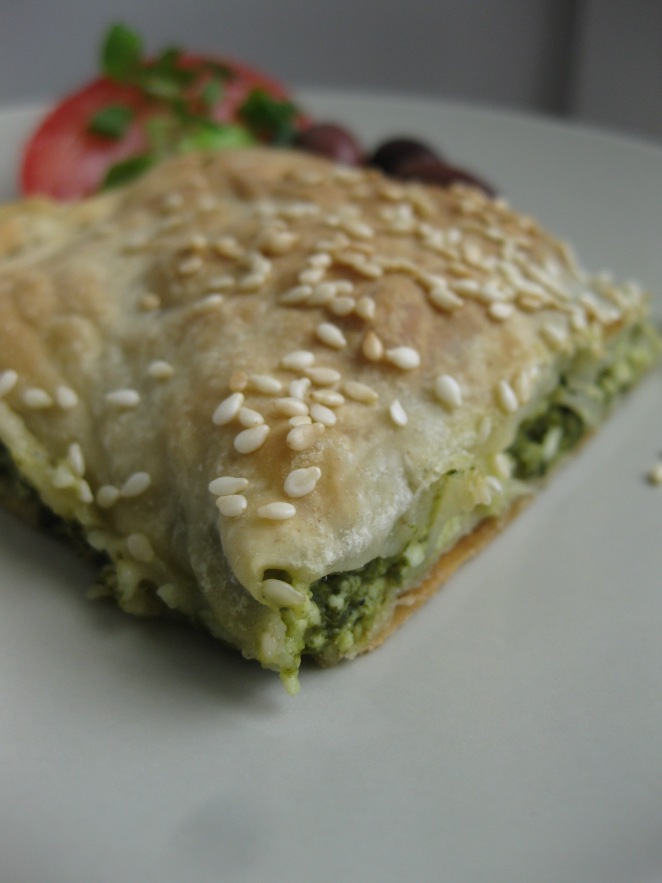
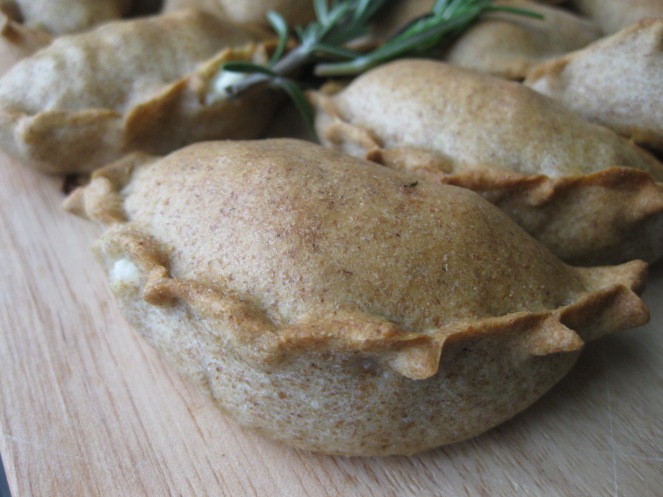
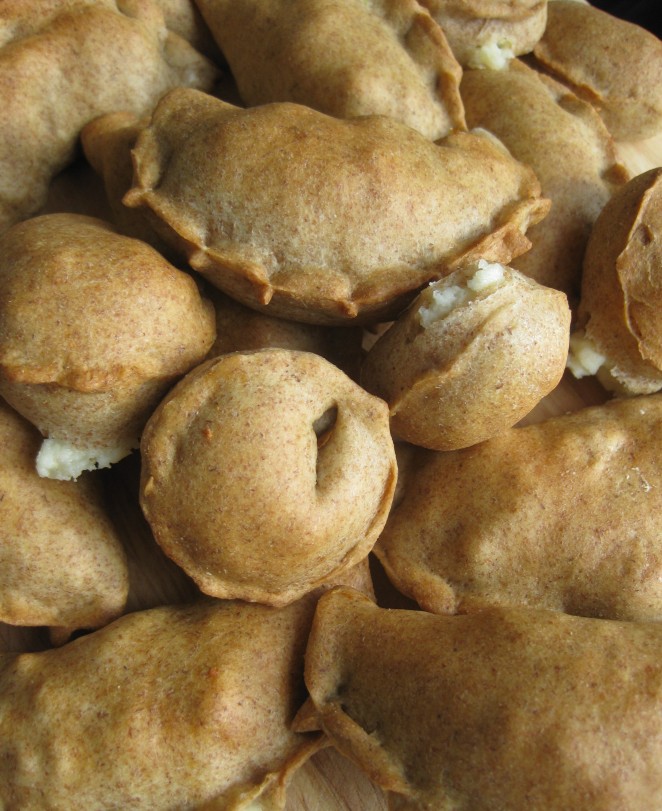
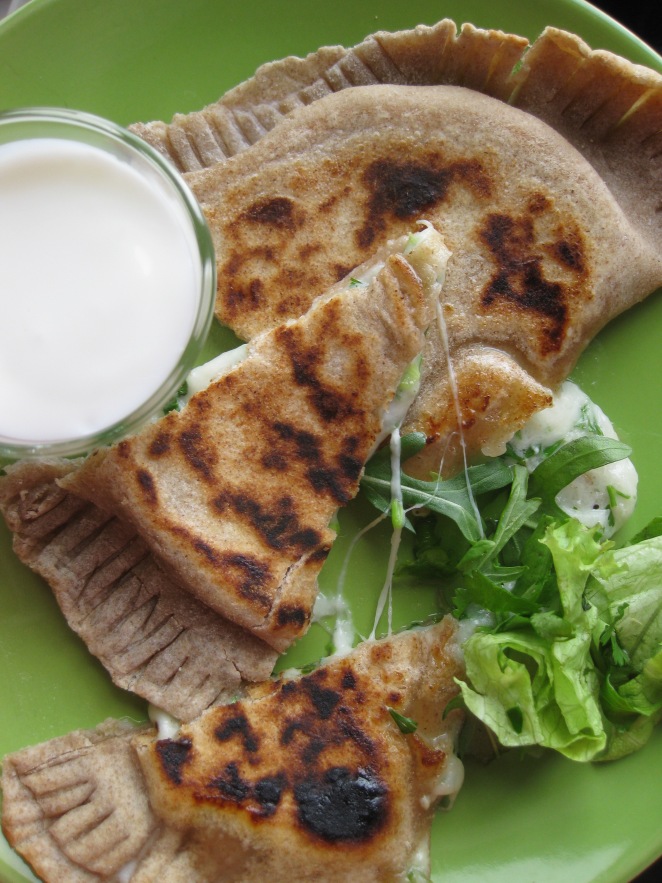
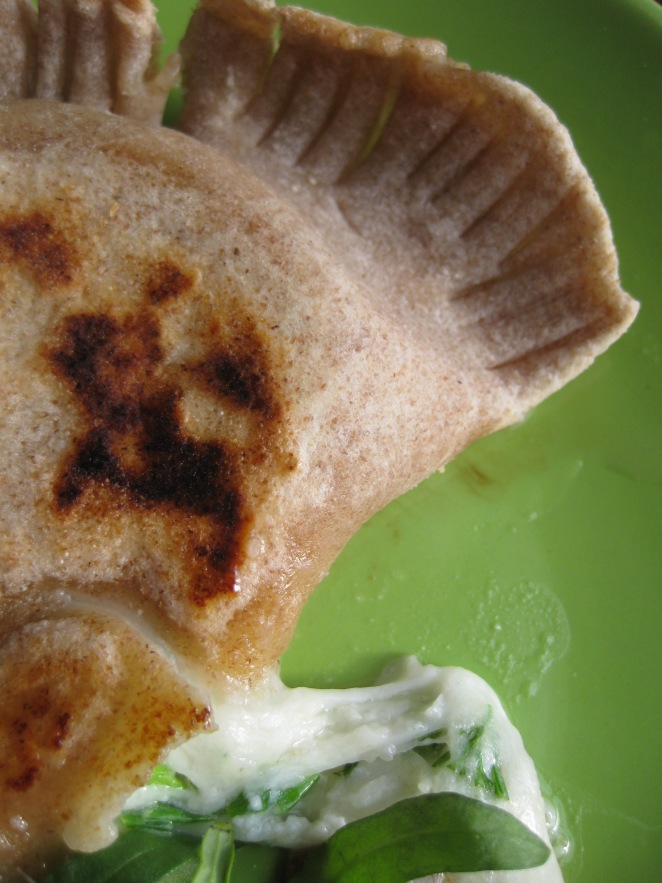
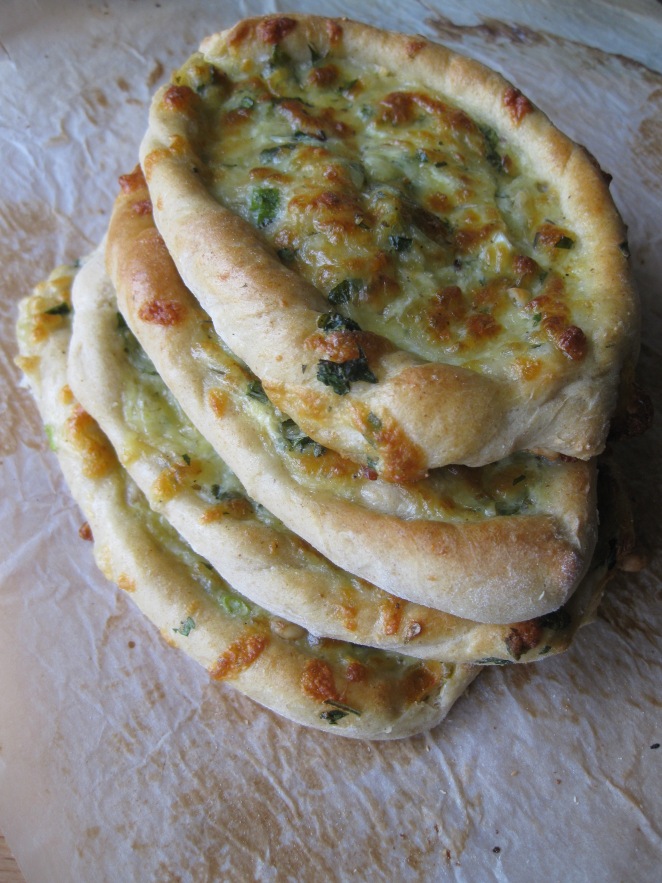
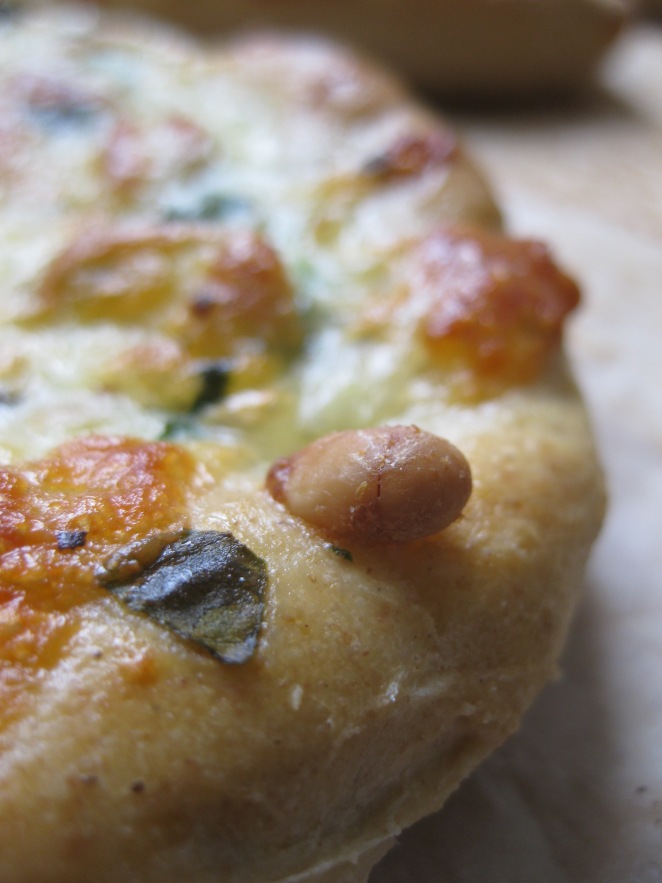
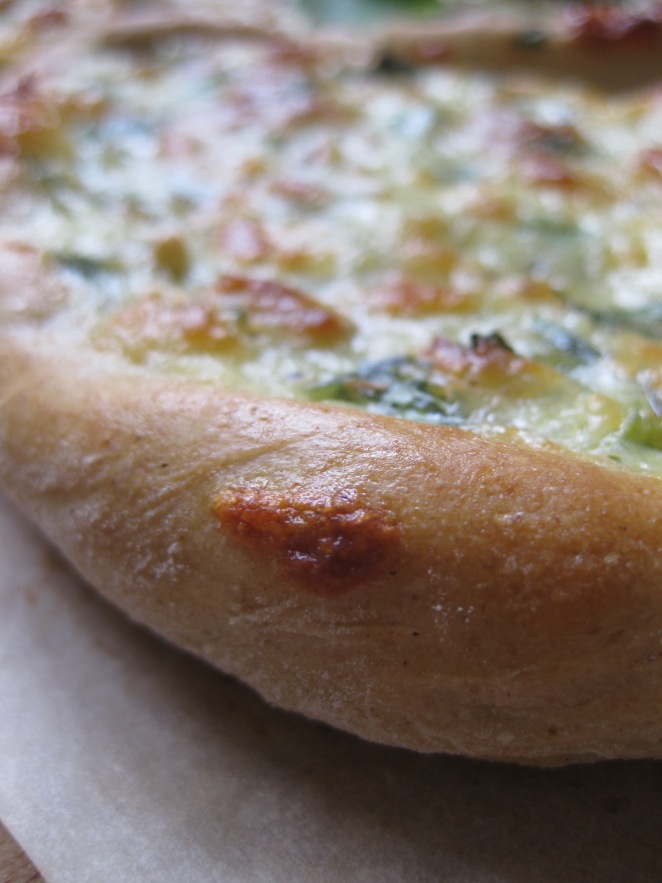
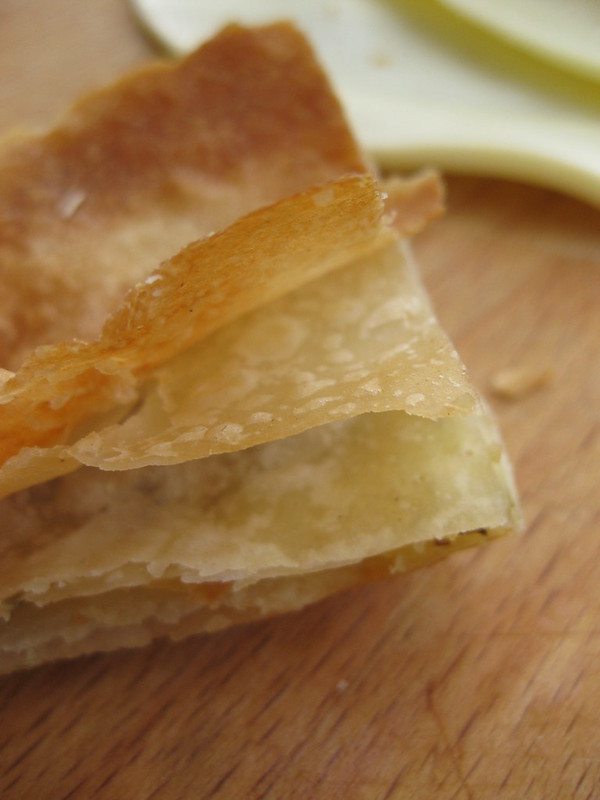
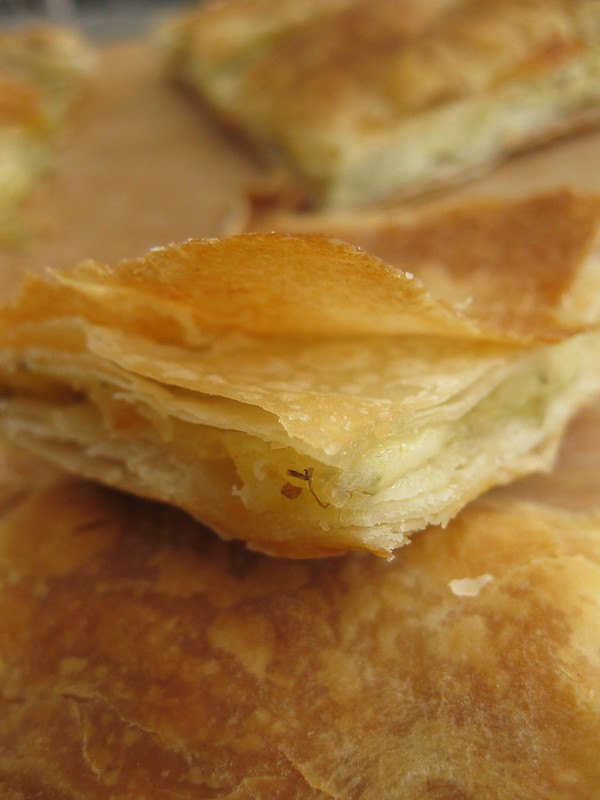
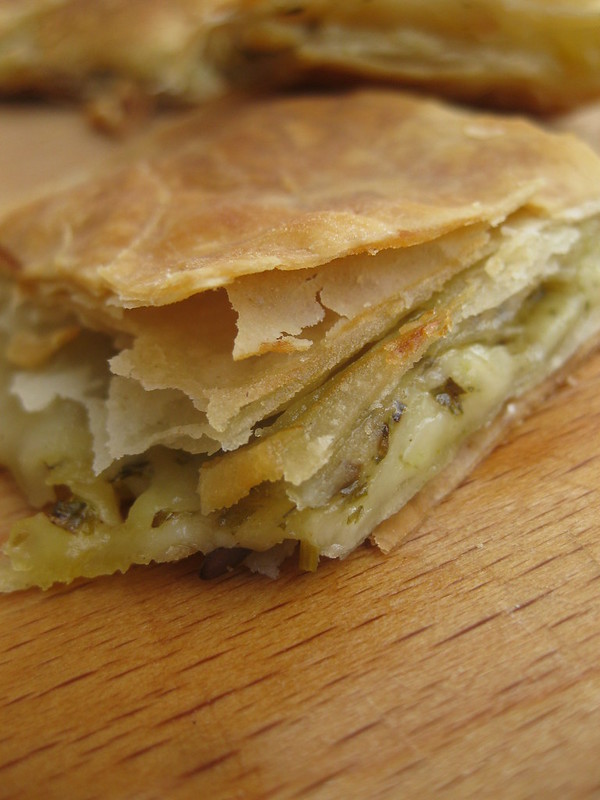
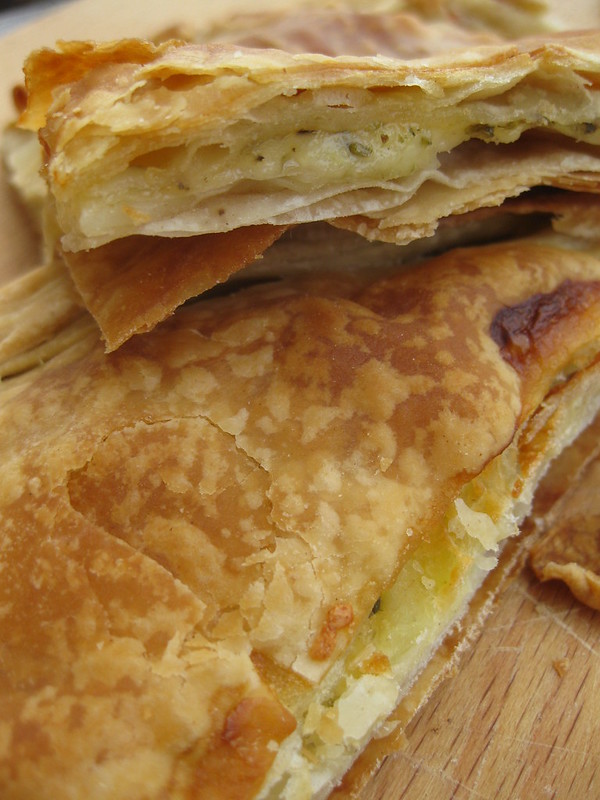
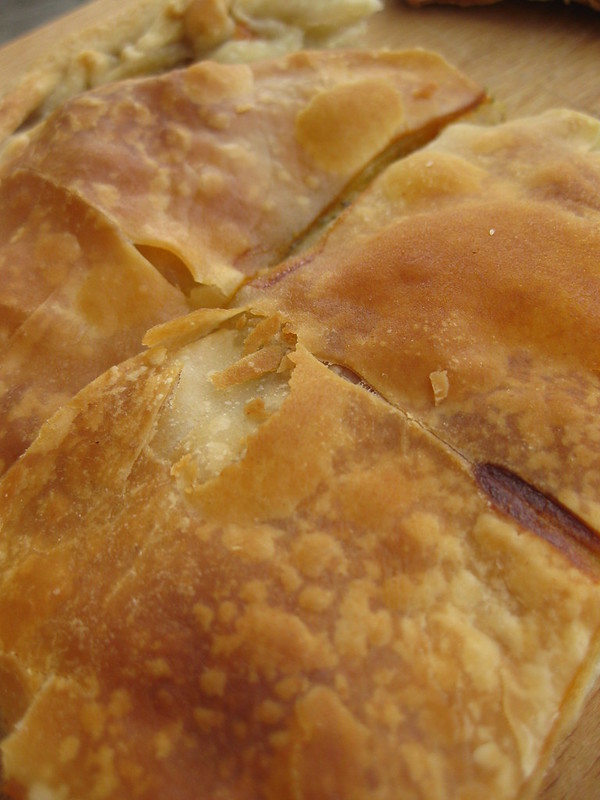
Result: Crusty-crunchy flat cheese pie. Do you need any more comments to persuade you to make it here and now? That’s what you are striving for – the crunchy outer layers of the pastry:
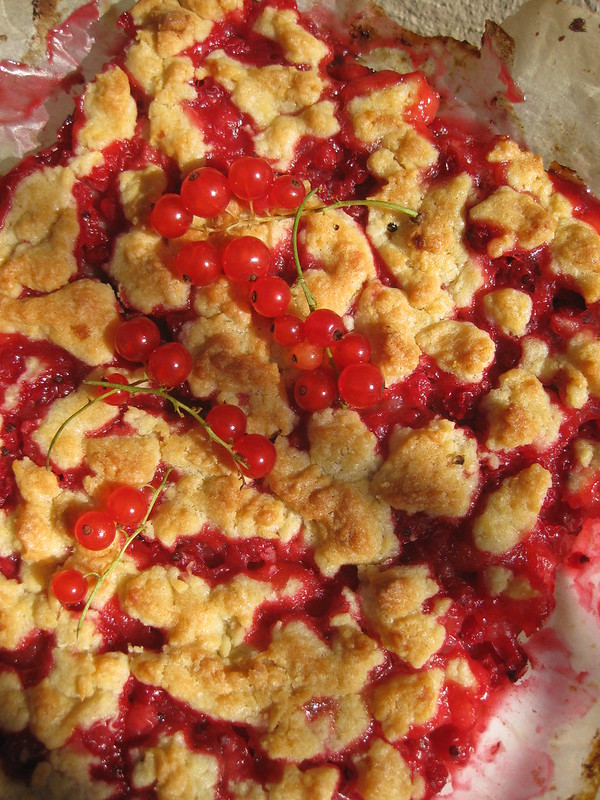
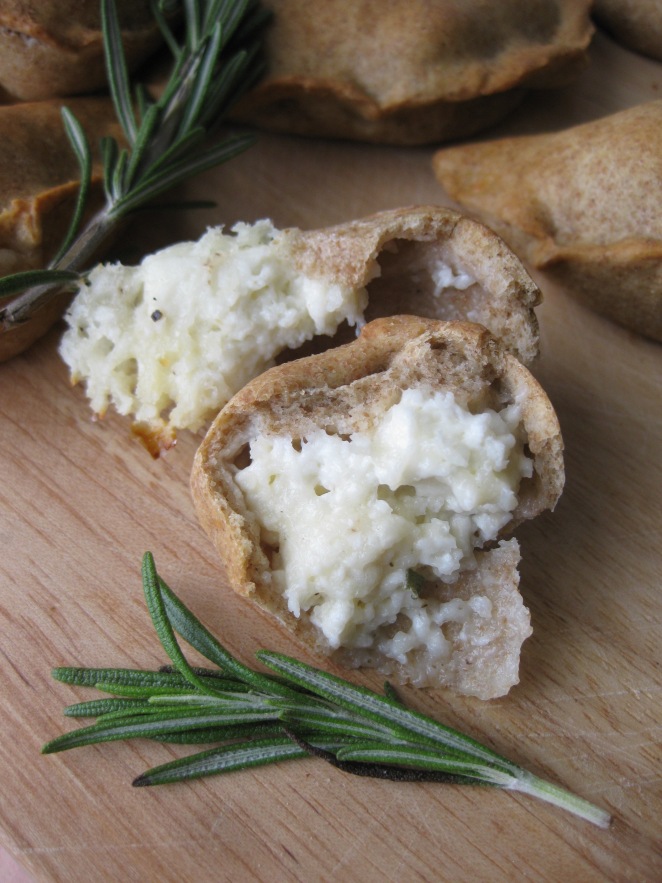
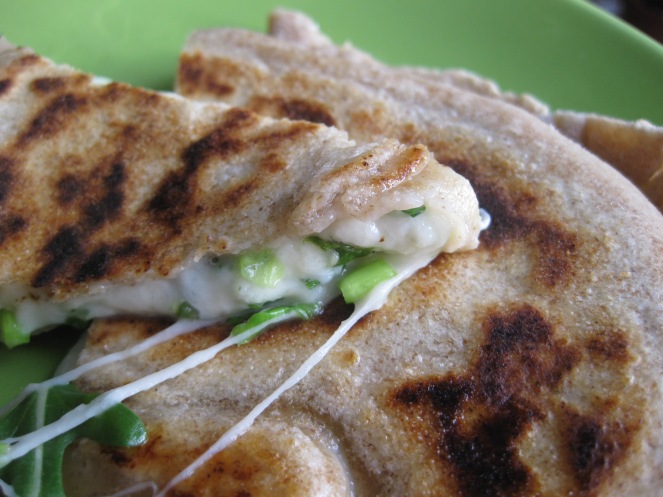
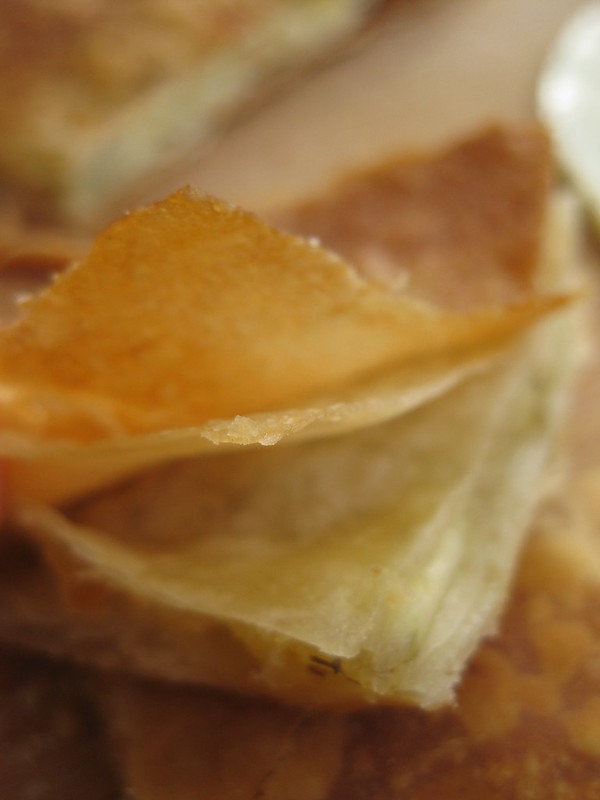
…and these layers that separate from each other on their own once baked:
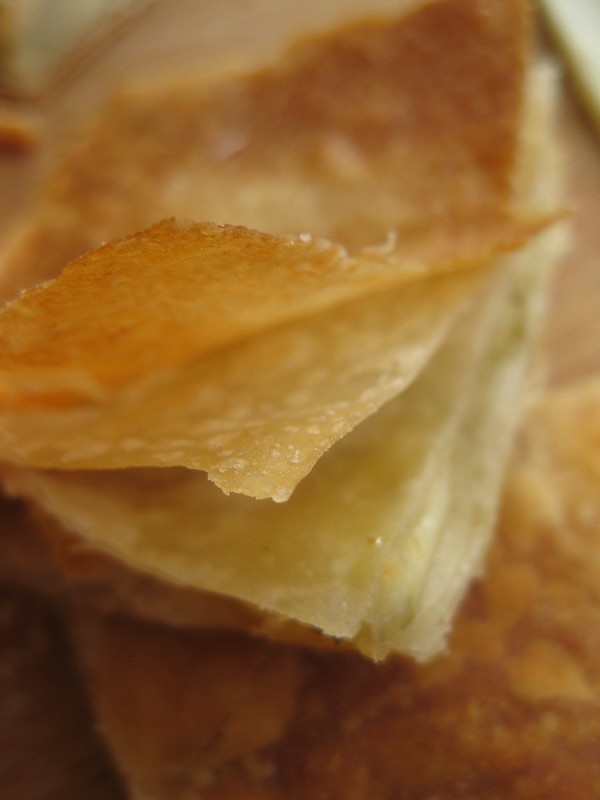
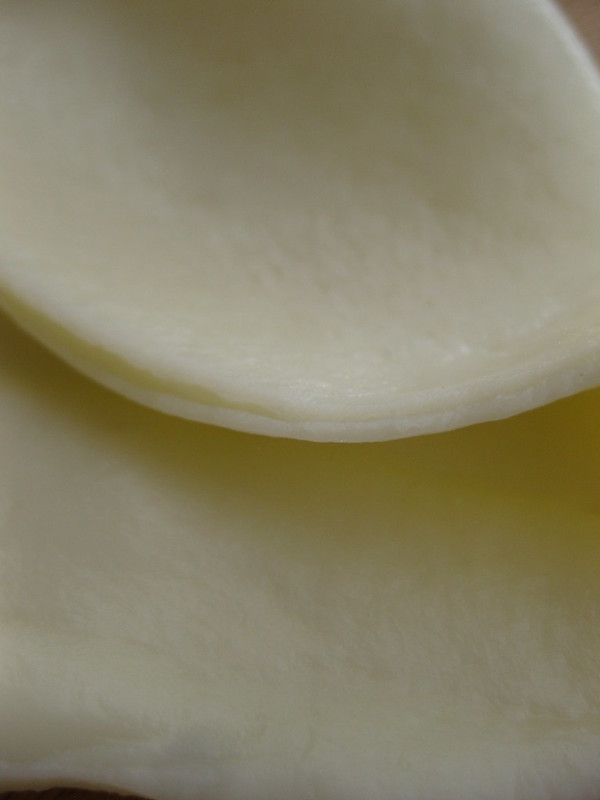
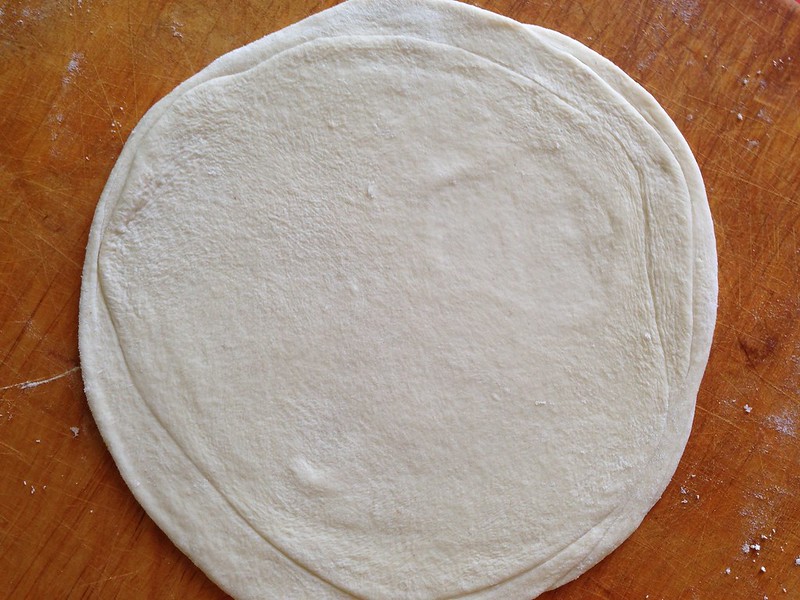
…which are not that easy to separate before baking 🙂 Here is one of the stacks before rolling out:

and before re-separating the discs:
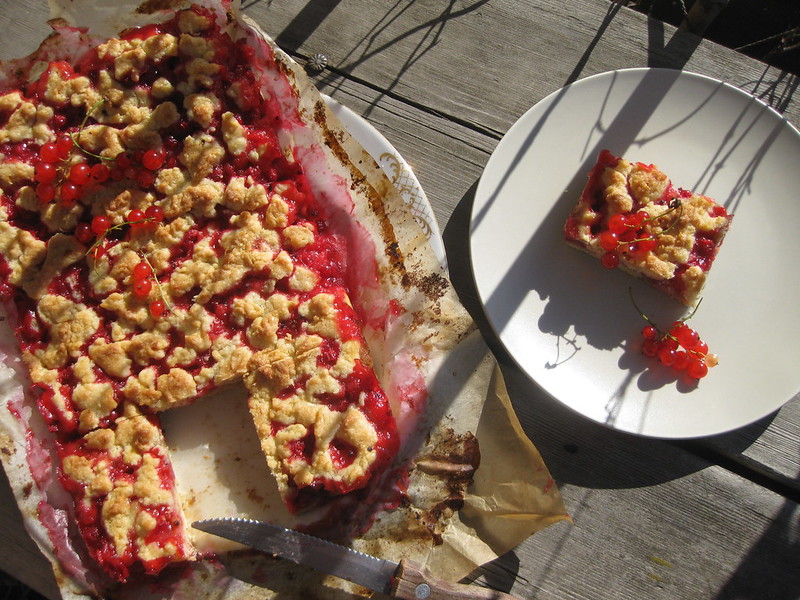
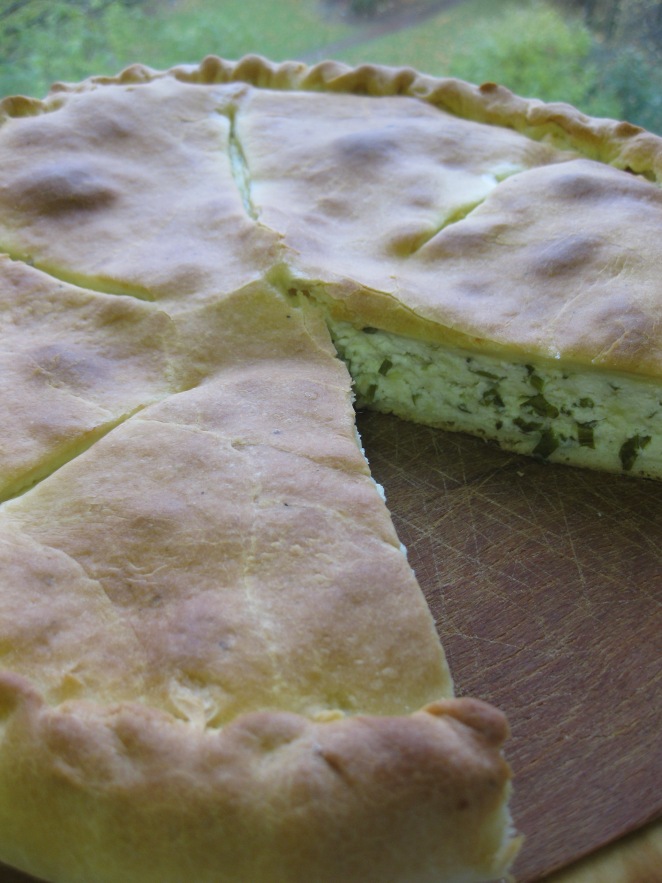
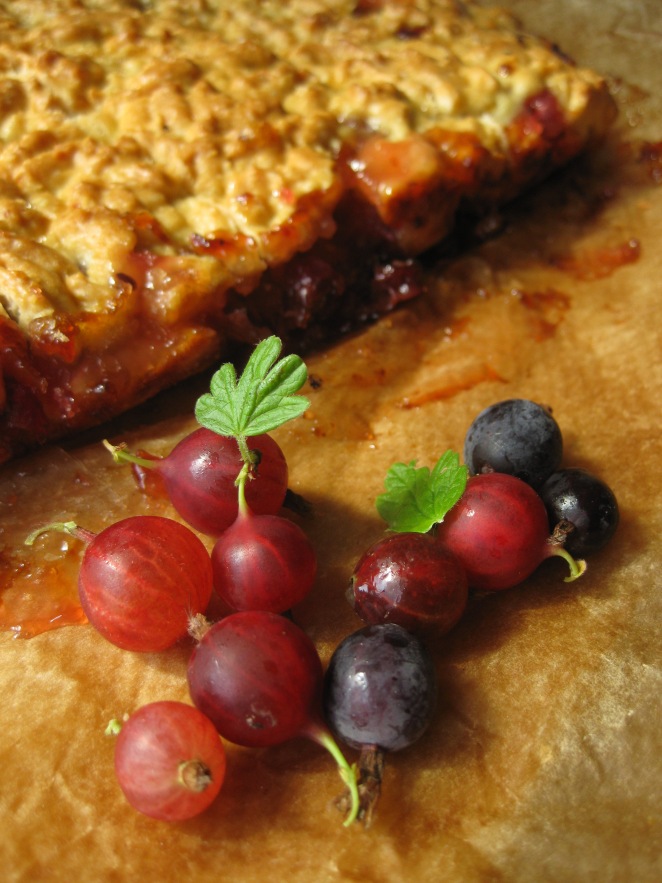
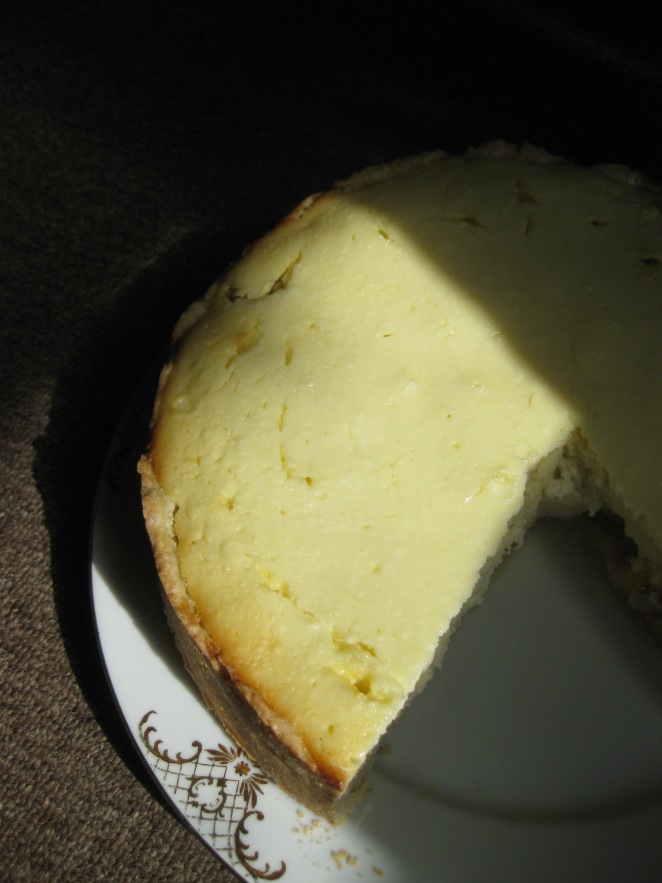
I was a bit late to photograph the entire pie – this is what was left next morning:

And yes, my blog has just turned 6!
This post goes to the Lunch / Dinner and Greek recipe collections where you will find many more Greek – and not only – pies.
G.