
Kargopol, a Gem of the Russian North
There are places that hold a special place in your heart even if you only spent a few days there. And not in a small part this is due to the people you meet there. Last July I visited a place like this in Arkhangelsk Region. Kargopol, an ancient northern Russian town located on the Onega River, had never actually been on my travelling list.

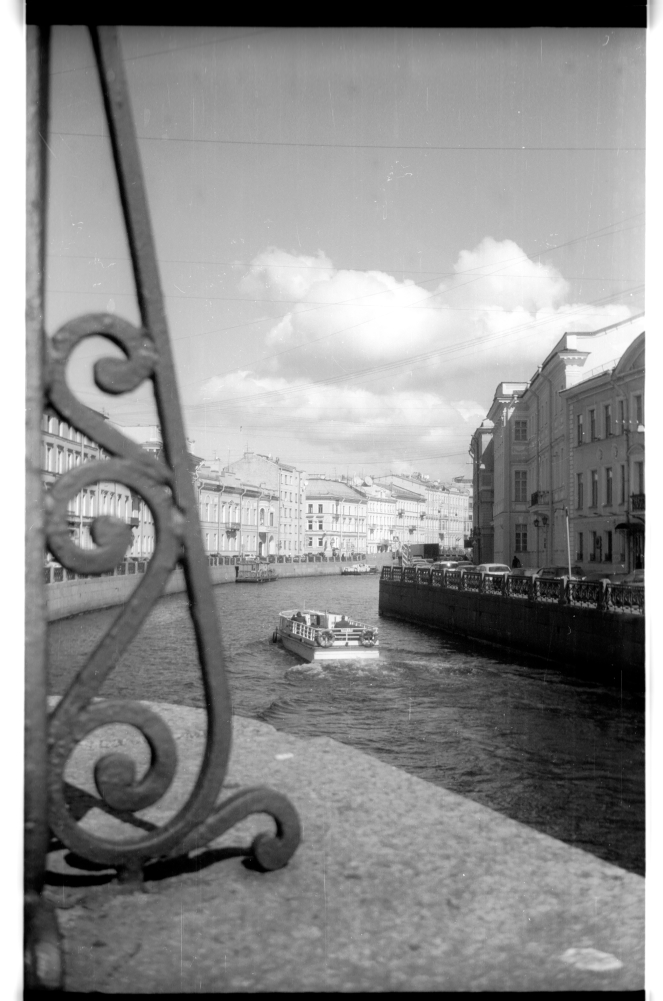
But it so happened that through some long (and I really mean that)-distance volunteering work I got attached to this place in such a way that I accepted the invitation and after some 15 rainy hours spent on the St Petersburg-Arkhangelsk train and an extremely bumpy ride (there are hardly any good “local” roads outside St Pete or Moscow) finally got there. Our first day was dedicated to exchanging news and life stories – which resulted in me almost losing my voice for several days.
The following day I actually visited the place I have been volunteering for and had first to overcome my fears about not being able to in fact. One thing to help people in need – coming in person to this place is the other. I was not sure I would be able to let go of all that squeamishness and just be human. It turned out right, although I was pretty drained after this visit and had just a tiny bit of my mental powers to enjoy the historical center of the town with its churches and museums (these are very often two-in-one in Russia).

Kargopol occupies the area where people lived already in the 4th millennium BC, although it is officially considered to be founded in 1380, being the year when it was first mentioned in writing. Its name is a bit of a riddle, containing parts that refer to both its Finno-Ugric past and the later Russification. And while “pol(e)” (field) is pretty obvious, the first part is translated either as a “crow” or a “bear”, depending on the version you stick to.
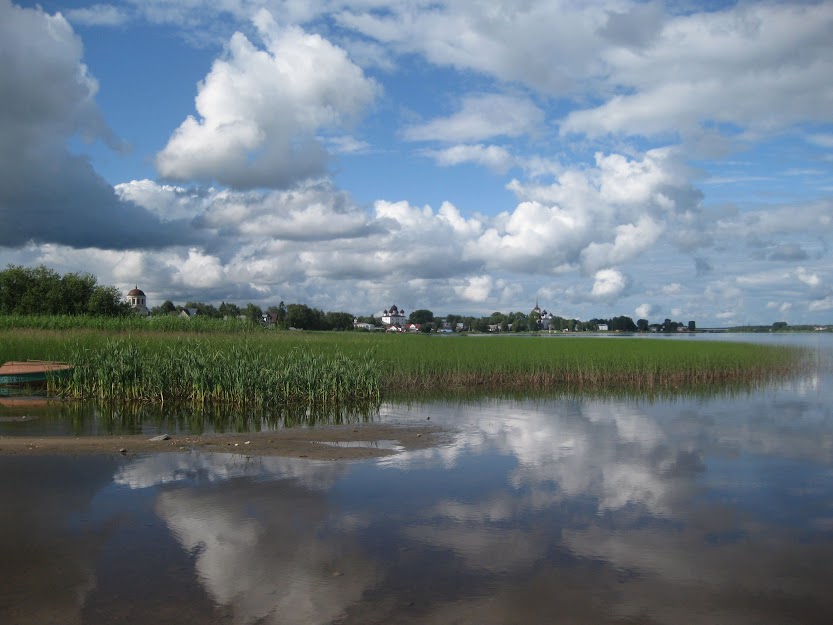
There’s an earth mound right next to the local bus station from where I took the photo above that testifies to the times when Kargopol was colonized by the people from Novgorod the Great. The town used to be quite an important trading center in the 16th century as it had the right to trade… salt which was quite a luxury back then and not all the cities were granted the right to do so, forcing them to actually come and buy their “white death” (or is it only said about sugar?) in Kargopol.

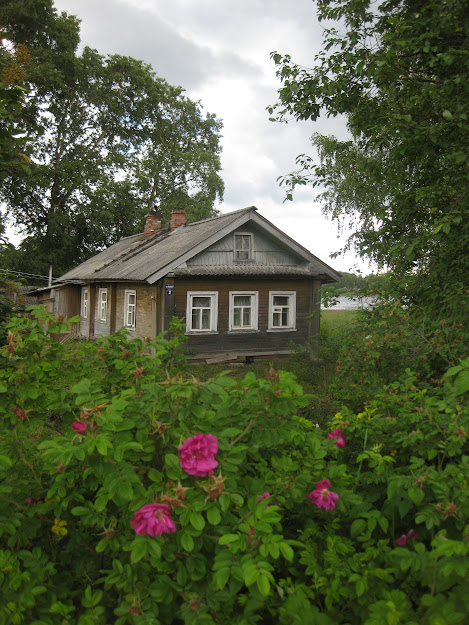
But with all its rights and privileges, Kargopol was also a place of exile – tsars would send their unwanted relatives or favourites there, while the sign on the house above tells us that a certain Ivan Bolotnikov (known to all us in Russia from the school history books) who was a leader of a popular uprising in 1606-07 was executed here as well. The wooden sign reminds us that the street was previously called Potanikha instead of Bolotnikov Street (renamed in the Soviet era when Bolotnikov Rebellion was especially celebrated). A curious thing to note about this building in the photo is that the double windows are quite lazily insulated with some moss – to keep the warmth in between the frames.
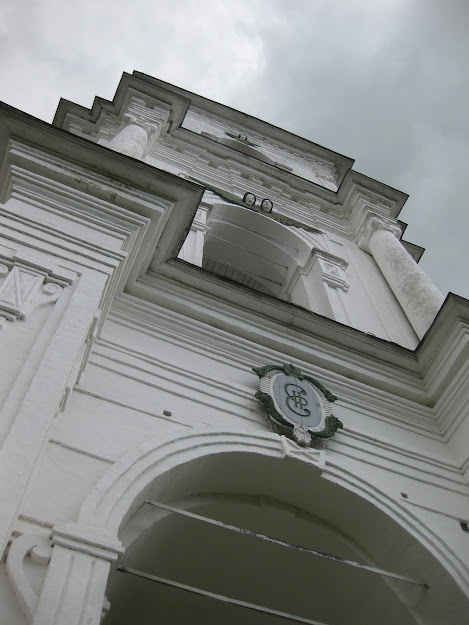
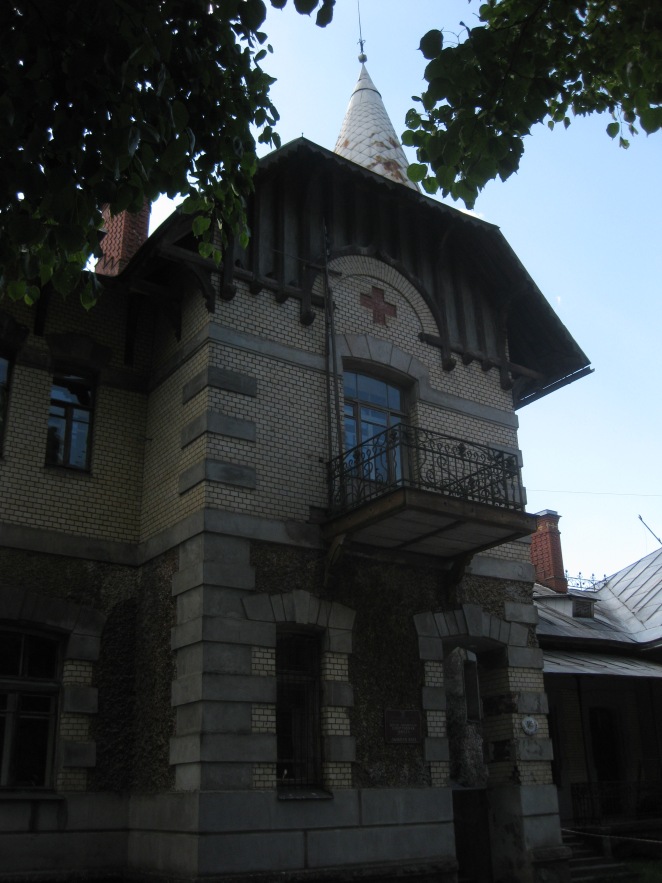
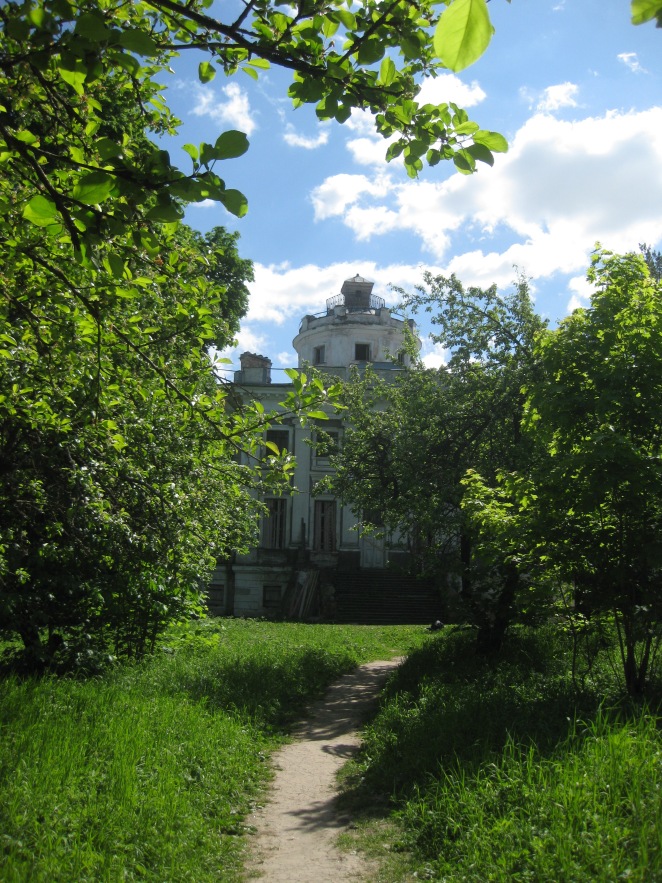
This 18th century bell-tower is there to remind us of a devastating fire that left the entire town in ruins in 1765 and made Catherine the Great (see her letters above the arch) rebuilt it according to a so-called “regular plan” – the one that was later applied to many cities including St Petersburg. This is how Kargopol became one of the first cities in the Russian Empire to follow this new plan.

But its main purpose now is to serve as an observation tower – one of the things I really appreciate, especially when there IS what to see from up there 🙂 One of the (relevantly) recent experiences that I enjoyed was an ex-monastery tower in Staraya Russa. Which makes me think I still have plenty of my travels to tell…
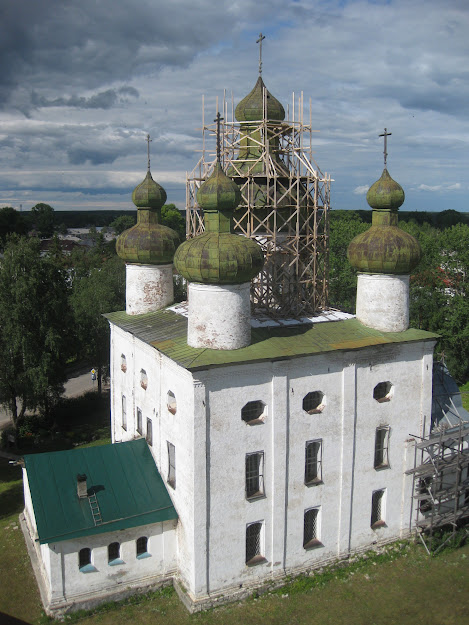
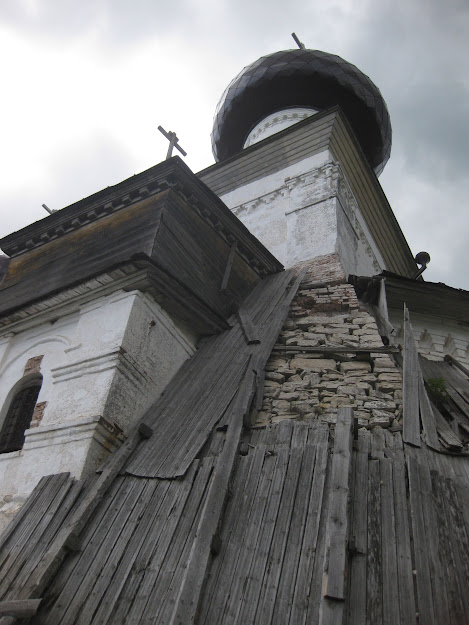
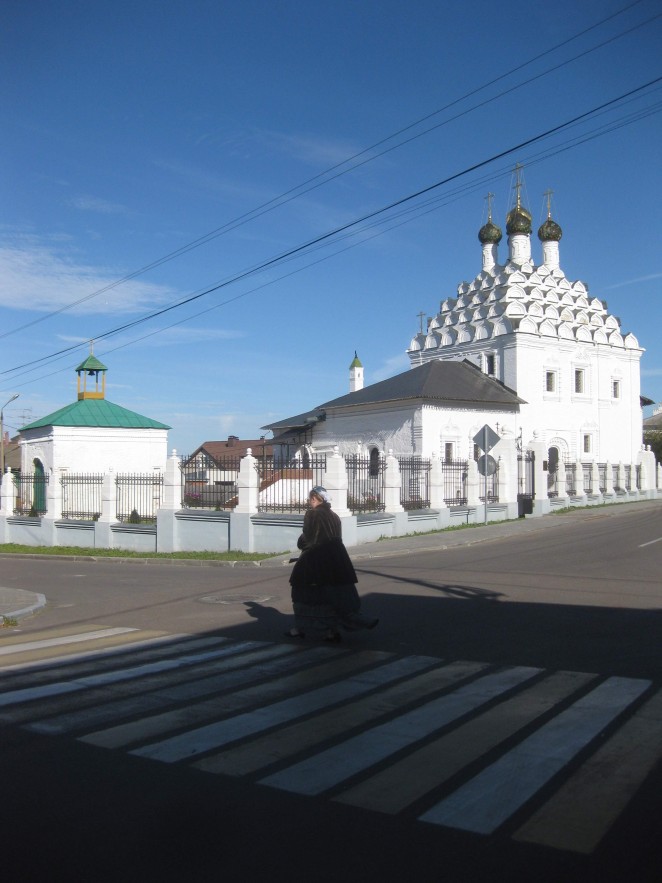
The church with green cupolas is a weird combination of baroque and whitewashed-wall architecture – I would never have thought that it was built in the middle of the 18th century! And this one with the shiny black cupolas was build 200 years earlier, in the mid-16th century, and over the years it has sunk almost 100 cm into the ground! The crazy buttresses made of stones and planks of wood were added to support the structure after the already mentioned fire of 1765. But the main attraction of this church is actually a collection of the so-called “heavens” or “skies” (nebesa in Russian), painted wooden ceilings characteristic of the Russian North. Gathered all over the region, they are exhibited in this church just propped against the walls.
Walking back from the main square to my friend’s place (after visiting a local history museum also housed in a church), I noticed a house with super dusty windows and some traditional clay Kargopol toys displayed in two of them. These toys might as well be taken for the more popular Dymkovo toys but are less flashy and I would say more authentic in a way. They say that those who used to make them in the old days would do so in the winter as during the rest of the year they were busy cultivating their land and harvesting.
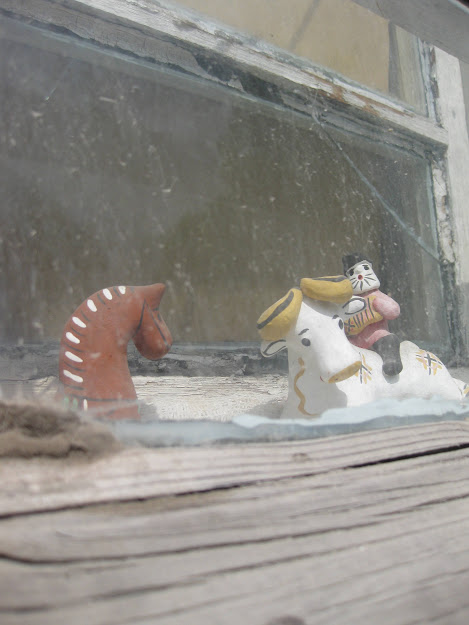
The toy is considered one of the symbols of the town (and the area) and is featured on, for instance, the local foods such as pryanik and kefir. However, there are very few foods made locally here as the agriculture collapsed with the break of the USSR and due to the remoteness of the area aggravated by the lack of proper roads makes it hard for anything to develop here – including tourism. Speaking of which, here’s what you can find here, just a few steps away from the central square:

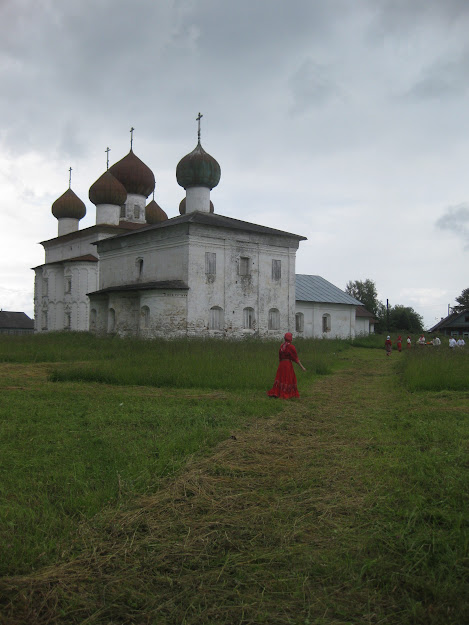
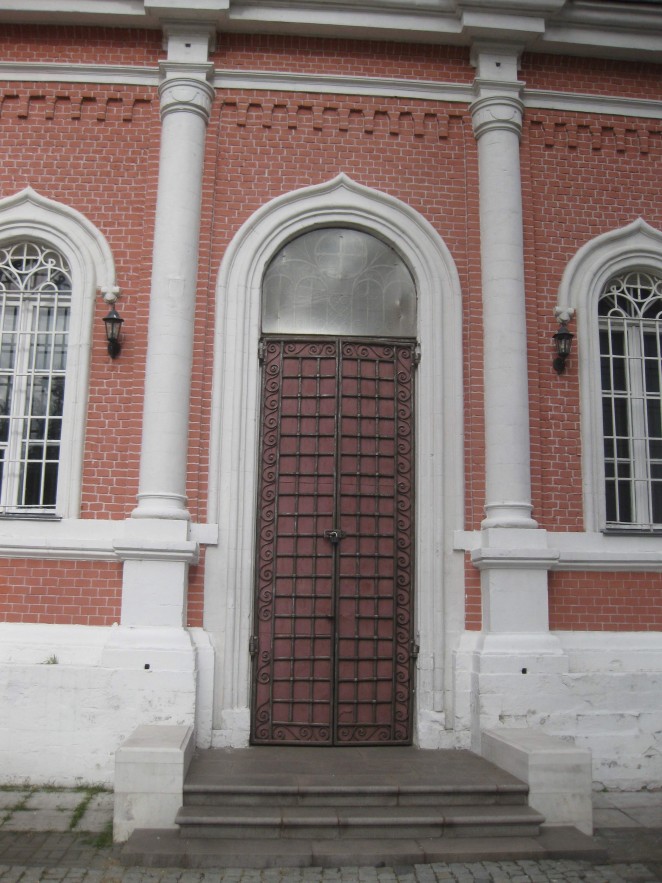
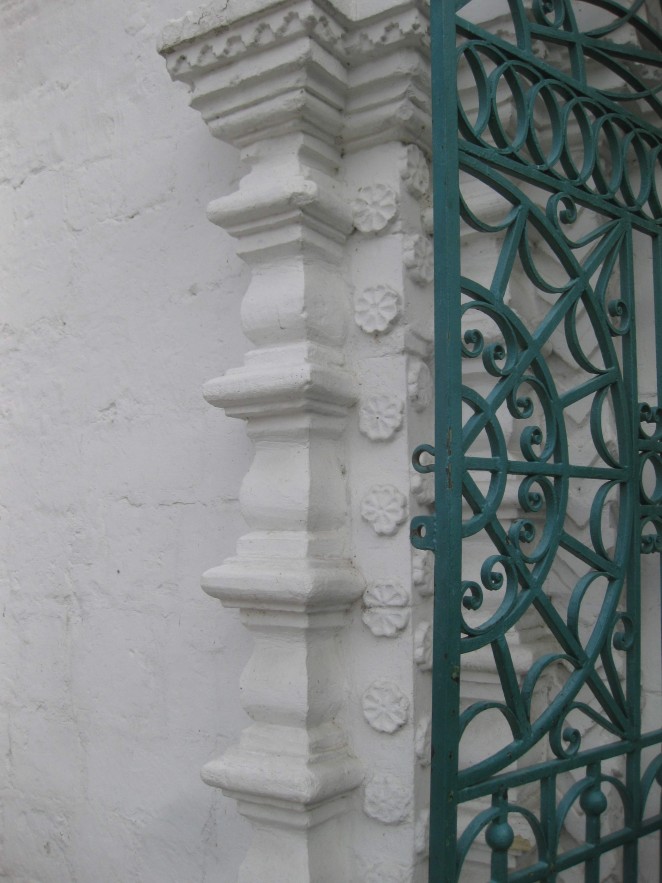
This delicate intricate beauty in the traditional “uzorochye” (literally “abundance of ornaments”) style is a 17th century church and the one to the right (below) is another church, once adorned with five cupolas but now reduced to just one.

They are both situated on the old market square – here pictured during the annual festival dedicated to the start of the mowing season and the Kupala Night that falls on the 7th of July. I was lucky enough to arrive just in time for the festivities which included a mowing competition among teams representing various villages, a market day and a real Kupala Night with a fire show, khorovod (round dances) and music.
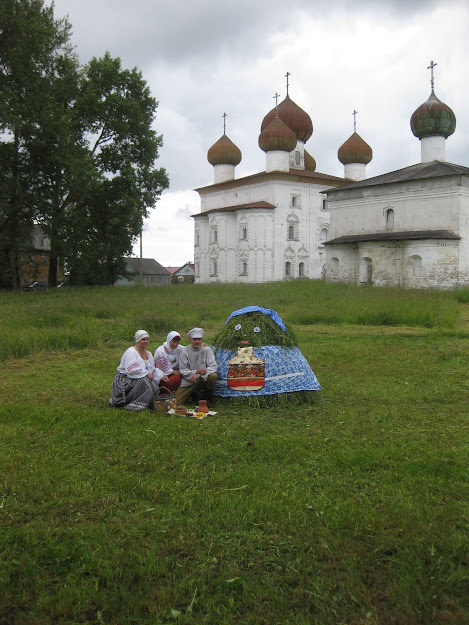
The competition included mowing a designated plot and building a haystack with a “twist”. There were also traditional chastushki (funny and often ironic short songs that rather resemble short poems) performed by the competitors themselves. And these girls (below) were preparing some treats for the participants.
These ladies just rocked! They were I think the first to finish their “creation” and then they sang just like real stars! Here pictured against the 17th century church with silver cupolas as the background. I really enjoyed the festival, although we missed the first part, the actual mowing, as it started quite early. And I think people around me were enjoying it as well, sincerely, you know, as mowing remains a part of their daily life, actually, since many of the locals live in their own houses in Kargopol or nearby villages.

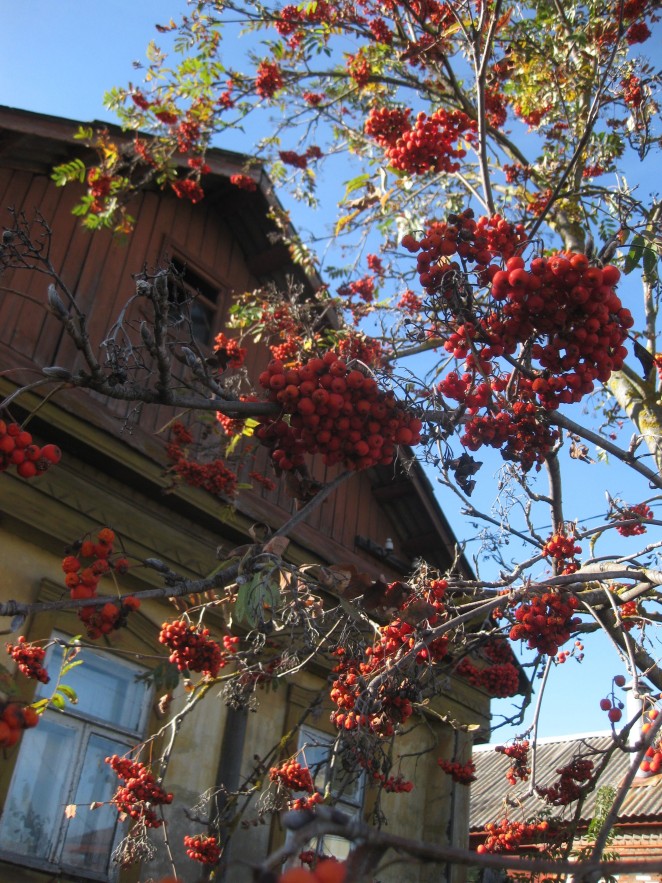
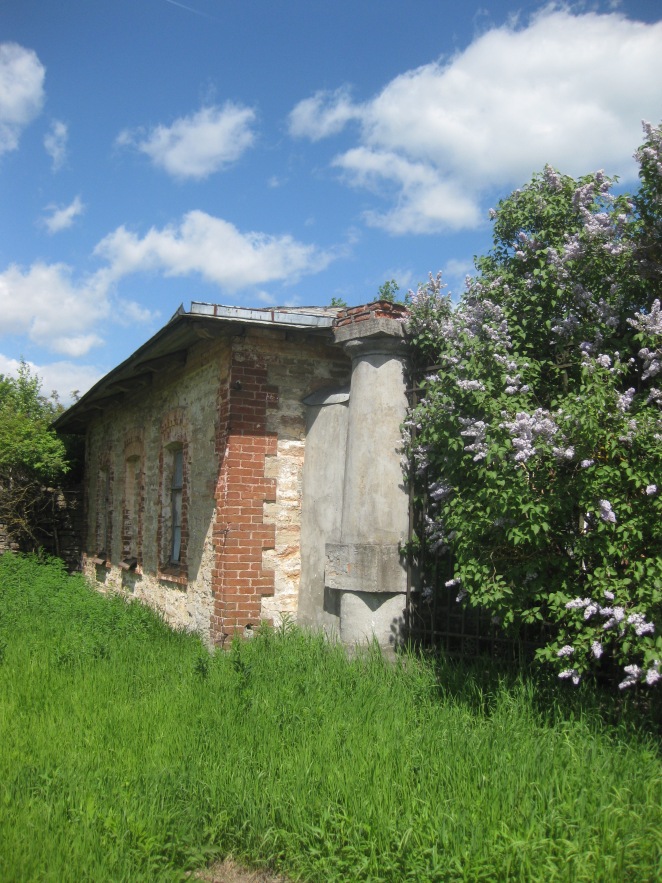
I was actually also clad in a traditional sarafan that my host made – although contrary to the people participating in the contest I felt very much an impostor 🙂 Moving further towards the “private” residential area of the town where people live in their own (or semi-detached) houses, I came about this apparently old but dying wooden building – this used to be shared by several families.

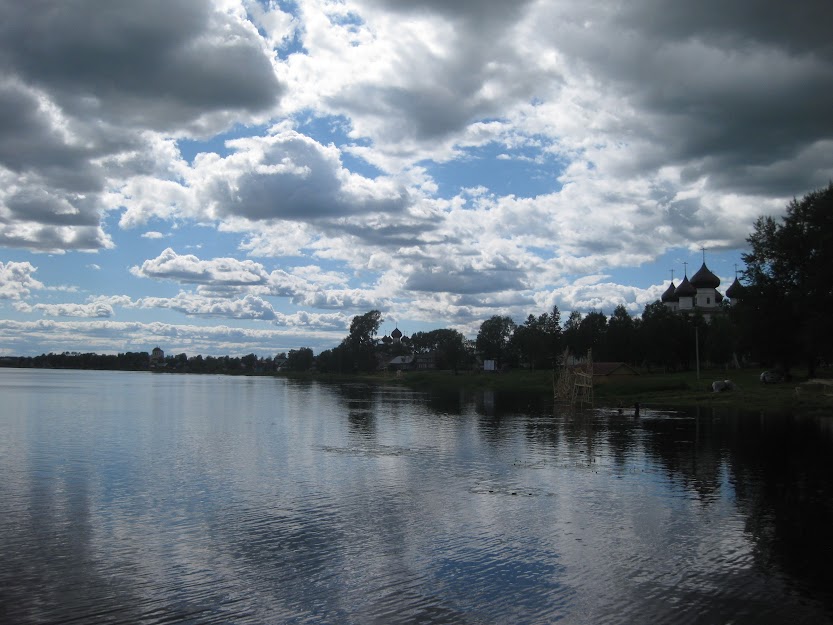
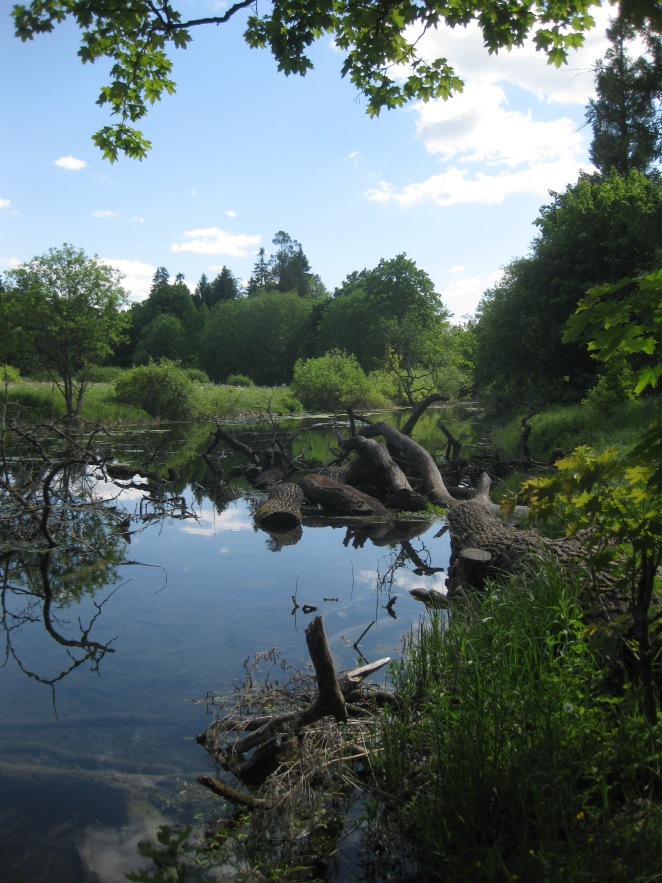
When everyone was having a nap, I wandered about a bit and was granted with this wonderful view over the town and the Onega River. Kargopol is like this, there are almost no buildings taller than say three floors (they stick to this rule deliberately) and there’s just ONE bus that makes a stop at the local bus station before moving on to the other side of the river when everyone gets off the bus (even if their journey is not over yet) and the driver with the conductor go inside the station building to have some tea. I think that took them about 10 minutes – nobody complained as this is an established “rule”. Not joking!

I enjoyed the view for quite a while, spellbound by the great weather, the atmosphere, the people and the silence which was broken only by a small motor boat moving along the river. There is also lake Lacha nearby, the largest in the region, but we didn’t manage to go there. With all the guests at my hosts’ place and the festival, I only managed to see a tiny bit of the town actually, so many things were left for the next time. I hope to have a walk around it myself too, like I did in that part of the town where my host lives.

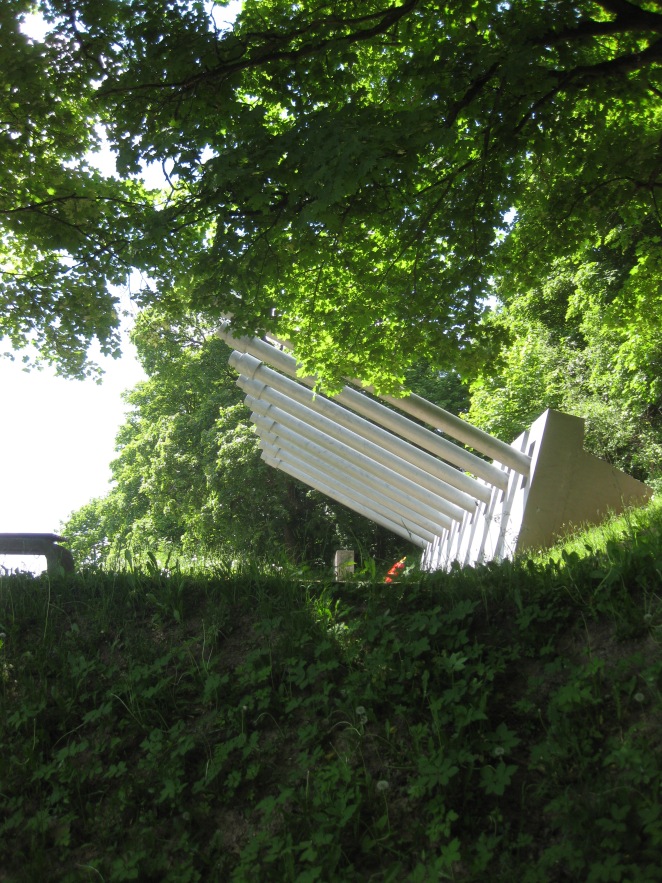
That evening there was also the big party, the Kupala Night itself, originally dedicated to the summer solstice (falling on the 24th of June according to the old, Julian calendar) but now mostly celebrating just the summer, I guess. Already on the first day I noticed these wooden figures in the Onega River that were still being constructed. The locals told us these were created for the famous fire show that we were about to witness soon. The figures were also symbolic, some taken from the local fokllore, some representing the traditional Kargopol toys. The big night finally came and I have to admit, I’ve never experienced anything of the kind – the atmosphere of the festival was very far from what I’m used to and I would definitely like to attend it again if I can.

There was also a sort of catwalk with super tall girls demonstrating tradition-inspired costumes, a “skovorodka” (literally “frying pan”) or a dance “floor” with the 1980s music performed live by a biology teacher and his band (well, he’d better stick to biology, if you ask me!), lots of food being cooked and not so much of alcohol around as I would expect (which, I guess, was banned). After that there was some dancing in circles choreographed by a team from Petrozavodsk, which I did join. The culmination of the night was the fire show to the live music by a local musician. Although we were already quite tired and feeling cold, we did watch the first figures to burn (which they did excruciatingly slowly!) and, to tell you the truth, felt some kind of regret that they did burn these structures down.

Next day people from various local communities organized a festival/market showcasing their products and most notably traditions. Of course, there was a much less authentic (and exciting for me) part to this event, though moved away from the main square, where you could get some fast food and completely not local goods and stuff, which people seemed to enjoy a lot, in fact. The thing is, those living in the big cities are spoilt with all the junk stuff to the point they get enough of it, longing for something truly traditional, authentic, ethnic, organic etc etc while in the regions people regard the former as something genuinely entertaining and take the latter for granted.

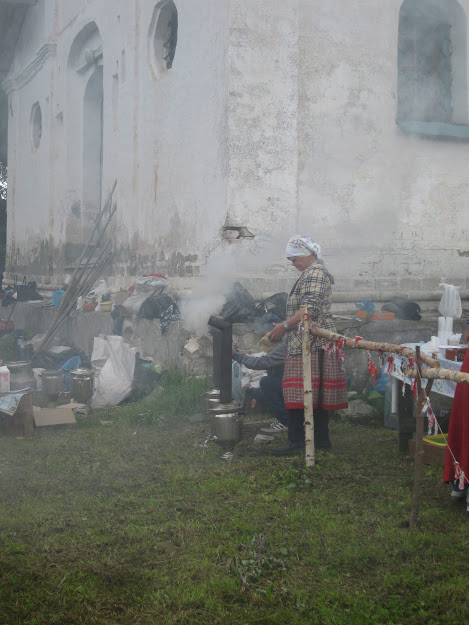
I guess for me there was much more interest in the traditional part as that is what is missing from my life in the city and I feel only a very distant connection to it. Anyway, pictured below is the same lady who was so active mowing in the early morning, now busy heating water in the samovar. What a stamina she has!
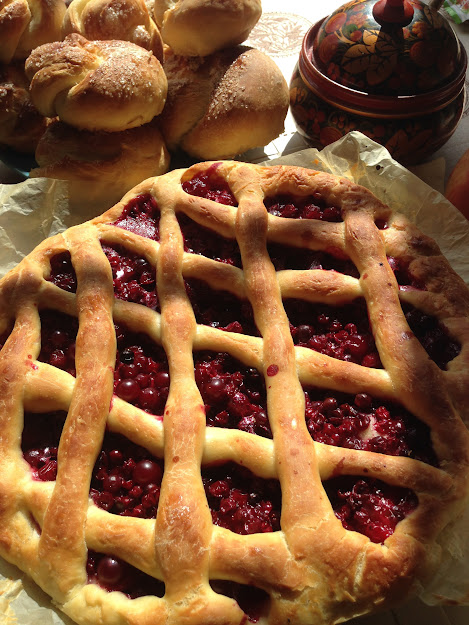
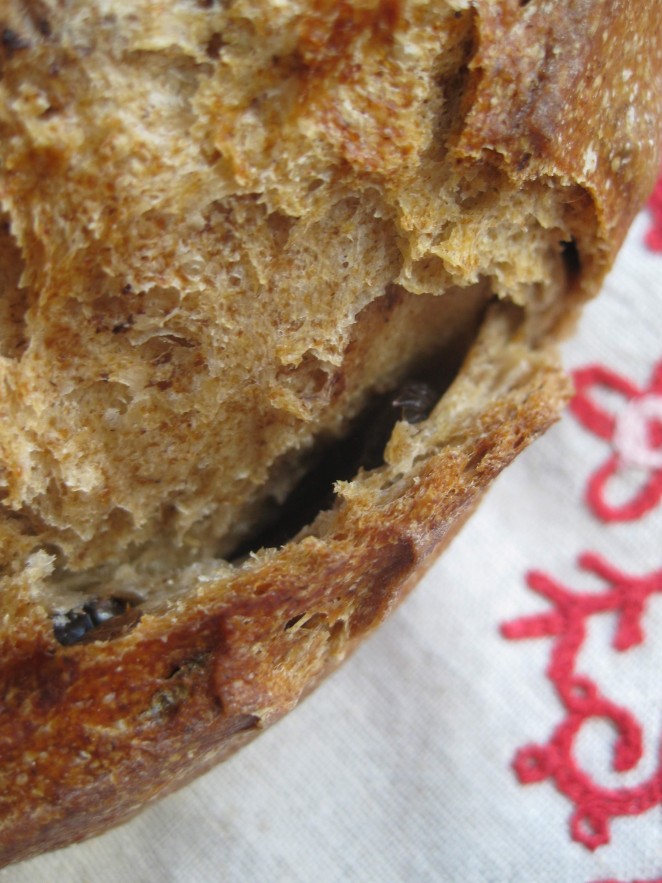
People were selling homemade pies, smoked fish and sweet stuff. But as we ate quite a lot of our own freshly baked sweet and savory pies in the morning (see further), I didn’t sample anything there, just wandered along the aisles, dissuading myself from buying all those baskets, boxes and the like that were on offer.

As I had a train to catch later that day, I couldn’t enjoy the festival and the market as much as I wished to. There was also a singing and dancing competition which I had to ignore in order to see at least some of the things I was indeed interested in. I made some last-minute souvenir shopping, buying a tall box made from birch bark, decorated with the beautiful red and black Mezen patterns, traditional painting style from Arkhangelsk Region.
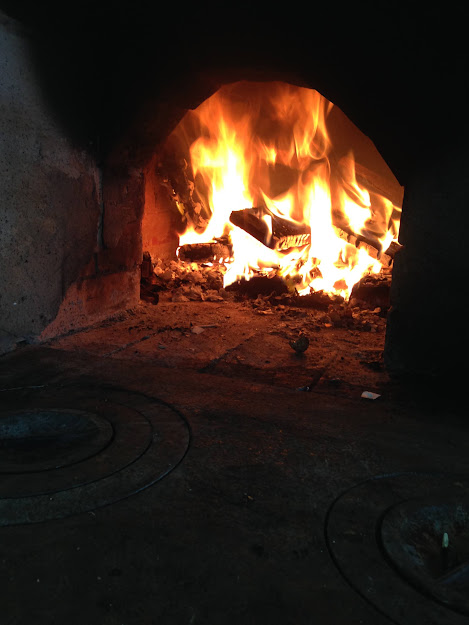
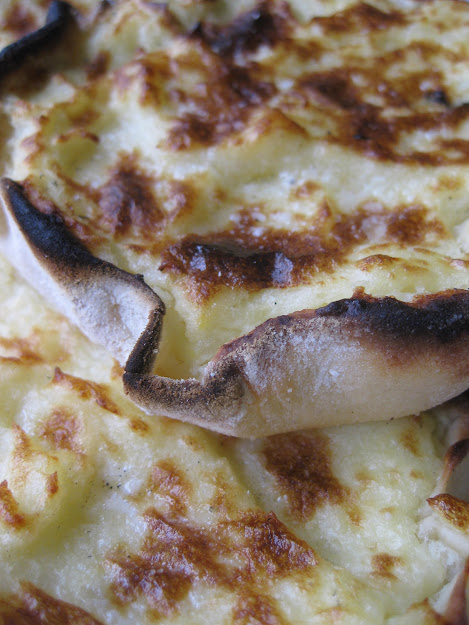
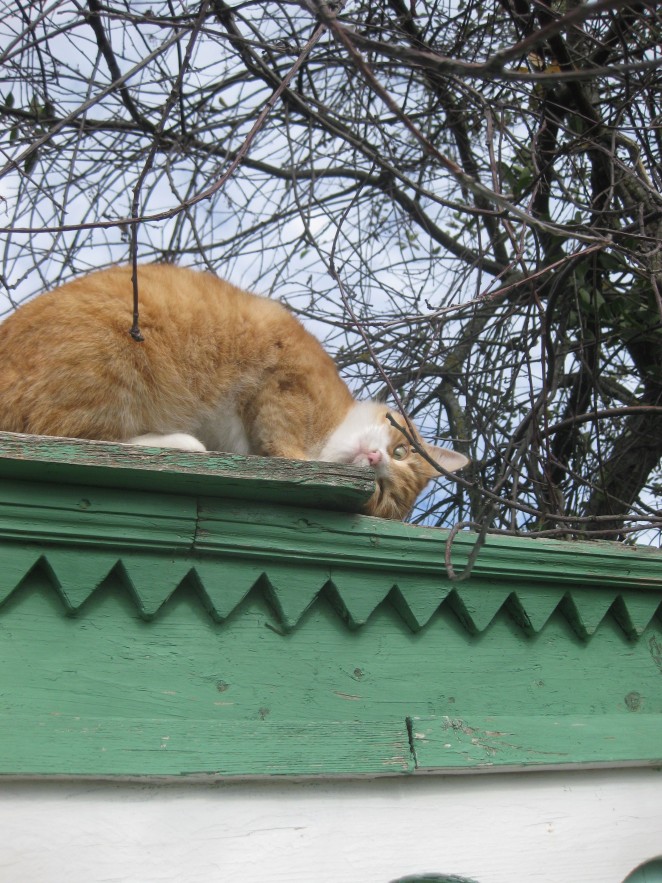
Earlier that day there was a real treat for me by my host’s sister: she cooked the traditional shangi pies with mashed potatoes (there should have been also some smetana or sour cream on top but the Russian stove my hosts have at home – see above – was piping hot and we had to skip that part) and some qutab-like pies with berries. The funny part about the master-class was when the hosts’ cat (who hissed at me like a real snake and snapped at my face) obviously curious and at the same time pretty nervous with all those people occupying its home (there was quite a few of us there) take a stroll right over the rolled-out circles of dough ready to be filled in and baked. We didn’t mind though 🙂
There was also a very hot banya with veniki (banya whisks from birch branches and leaves) from where I just had to flee as I can hardly stand such heat (and had to stand next to the window for half an hour to come back to life), there was marveling at how little I know about life outside big cities, there was walking with the dog in the nearby forest, there was a ton of new people I met and tons of stories I heard, there was a torrential rain and birds singing in the early morning, there were many things I noticed about myself. And there was some cooking on my part as well, mostly improvising with the ingredients that were available. Here’re some sugar knots and a berry pie in the morning light.
On the train I met a woman from Moscow who comes to the festival every year. Although she seemed to have traveled all over the area and learnt a lot, she made me think that you can only learn as much about the traditions and the life in the region as you see and are shown, whereas the true life is what you can only experience if you live there yourself. The next morning, I was already in the hustling and bustling, insatiably commercial Moscow – not the best place to go after such a getaway and a soulful, meaningful journey. One to remember, for sure.
Filed under the Russian Travels collection.
G.


